Did you know that over 75% of paint failures are attributed to inadequate surface preparation? Imagine spending time and money on a paint job, only to see it peel and chip within months.
These situations explain the importance of surface preparation in a paint job. It is crucial for achieving a durable, high-quality paint finish. This article will show you why it’s a vital step in a painting project.
Ensuring paint adherence
Cleaning the surface
Importance of removing dirt, grease, and contaminants
Removing dirt, grease, and contaminants from a surface before painting is crucial for several reasons:
- Improved adhesion: Clean surfaces ensure that the paint adheres properly. Dirt, grease, or any contaminant can create a barrier between the paint and the surface, leading to poor adhesion and eventual peeling or flaking.
- Surface smoothness: Contaminants can cause the paint to apply unevenly, resulting in a rough and unattractive finish. A clean surface promotes a smooth and consistent application of paint.
- Durability and longevity: Paint applied to a clean surface can last longer. Contaminants can cause paint to deteriorate more quickly, leading to the need for more frequent repainting.
- Preventing mold and mildew: Grease and dirt can harbor mold and mildew, which can continue to grow under the paint, leading to health hazards and structural damage.
Examples of cleaning methods
1. Power washing:
- Application: Ideal for exterior surfaces such as walls, decks, and fences. Prepare your home for its next coat with thorough power washing that removes dirt, mold, and mildew.
- Advantages: Effective at removing dirt, mold, mildew, and loose paint quickly.
- Considerations: The pressure needs to be adjusted to avoid damaging the surface.
2. Chemical cleaners:
- Application: Suitable for both interior and exterior surfaces.
- Advantages: Can remove stubborn stains, grease, and oil that water alone cannot.
- Considerations: Requires proper handling and ventilation. Follow manufacturer instructions for safe use.
Removing old paint and coatings
Techniques for stripping old paint
1. Sanding:
- Application: Effective for small areas or detailed work.
- Advantages: Provides a smooth surface ready for painting. Sanding can also level out minor imperfections.
- Considerations: It can be labor-intensive and time-consuming. It generates dust, so protective gear and dust control measures are necessary.
2. Scraping:
- Application: Used for removing loose, flaking, or blistered paint.
- Advantages: Simple and does not require specialized equipment.
- Considerations: Requires effort and can be tiring. You must do it carefully to avoid gouging the surface.
3. Chemical removers:
- Application: Suitable for removing multiple layers of paint or for detailed and intricate surfaces.
- Advantages: Effective at removing paint without damaging the substrate.
- Considerations: Can be hazardous. Proper safety precautions, such as gloves, goggles, and ventilation, are necessary.
The benefits of starting with a clean, bare surface for better paint adhesion
- Enhanced adhesion: Paint adheres better to a bare surface, reducing the likelihood of peeling or flaking.
- Uniform finish: Starting with a clean surface ensures that the paint applies evenly, resulting in a more aesthetically pleasing finish.
- Improved durability: Paint applied to a clean, bare surface is more durable and resistant to wear and tear.
- Revealing surface issues: Removing old paint can show underlying flaws, such as cracks or rot, that you must address before painting.
Cleaning and removing old paint are essential for a high-quality, long-lasting paint job. Taking the time to prepare the surface adequately will ensure better results and extend the life of the paint.
Repairing surface imperfections
Identifying and fixing the damage
Common surface imperfections
Before painting, it’s crucial to identify and fix any surface imperfections to ensure a smooth and durable finish. The most common surface imperfections include:
- Cracks: These can range from fine hairline cracks to deeper fissures on the surface. They can occur due to structural movements, settling, or aging materials.
- Holes: Typically found in walls, these can result from nails, screws, or accidental damage.
- Dents: Often caused by impacts, dents can create uneven surfaces that can be visible even after painting.
Methods for repairing damage
1. Filling:
- Materials: For interior walls, use appropriate fillers such as spackle or joint compound, and for outdoor surfaces, use exterior-grade fillers.
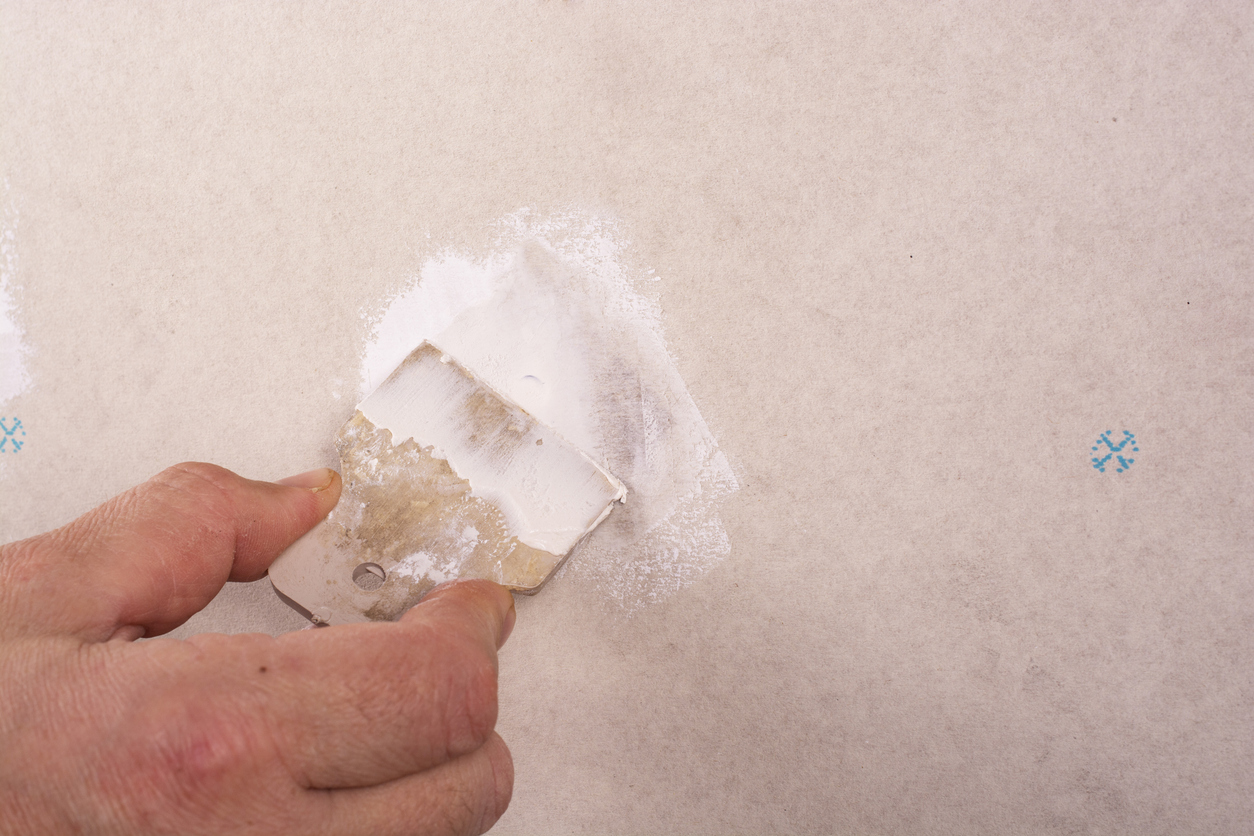
- Application: Apply the filler with a putty knife or a trowel, pressing it into the crack or hole to ensure it adheres well and fills the entire void.
- Drying: Let the filler dry according to the manufacturer’s recommendations.
2. Patching:
- Small holes: For small holes, filling alone may suffice.
- Large holes: For larger holes, a patch may be necessary. It could involve cutting a piece of drywall to fit the hole, securing it with screws or adhesive, and then covering the seams with joint compound and tape.
- Surface blending: Sand the patched area to blend smoothly with the surrounding surface.
3. Sanding:
- Purpose: Sanding helps smooth out the filled areas and remove excess filler, ensuring a flat and plane surface.
- Techniques: Use different grits of sandpaper, starting with a coarser grit to remove noticeable imperfections and finishing with a finer grit for a smooth surface.
Smoothing rough areas
Importance of sanding
Sanding is vital for surface preparation. It creates a smooth, even surface that helps the paint adhere better. A properly sanded surface can prevent issues like peeling, cracking, or an uneven finish, ensuring a longer-lasting and aesthetically pleasing result.
Tools and Techniques for Effective Sanding and Smoothing
1. Tools:
- Sandpaper: It is available in various grits; lower numbers indicate coarser paper, while higher numbers indicate finer paper. Coarse sandpaper (60-80 grit) is adequate for initial smoothing, while finer sandpaper (120-220 grit) is used for final smoothing.
- Sanding blocks: These provide a flat, even surface for sanding and can be wrapped with sandpaper.
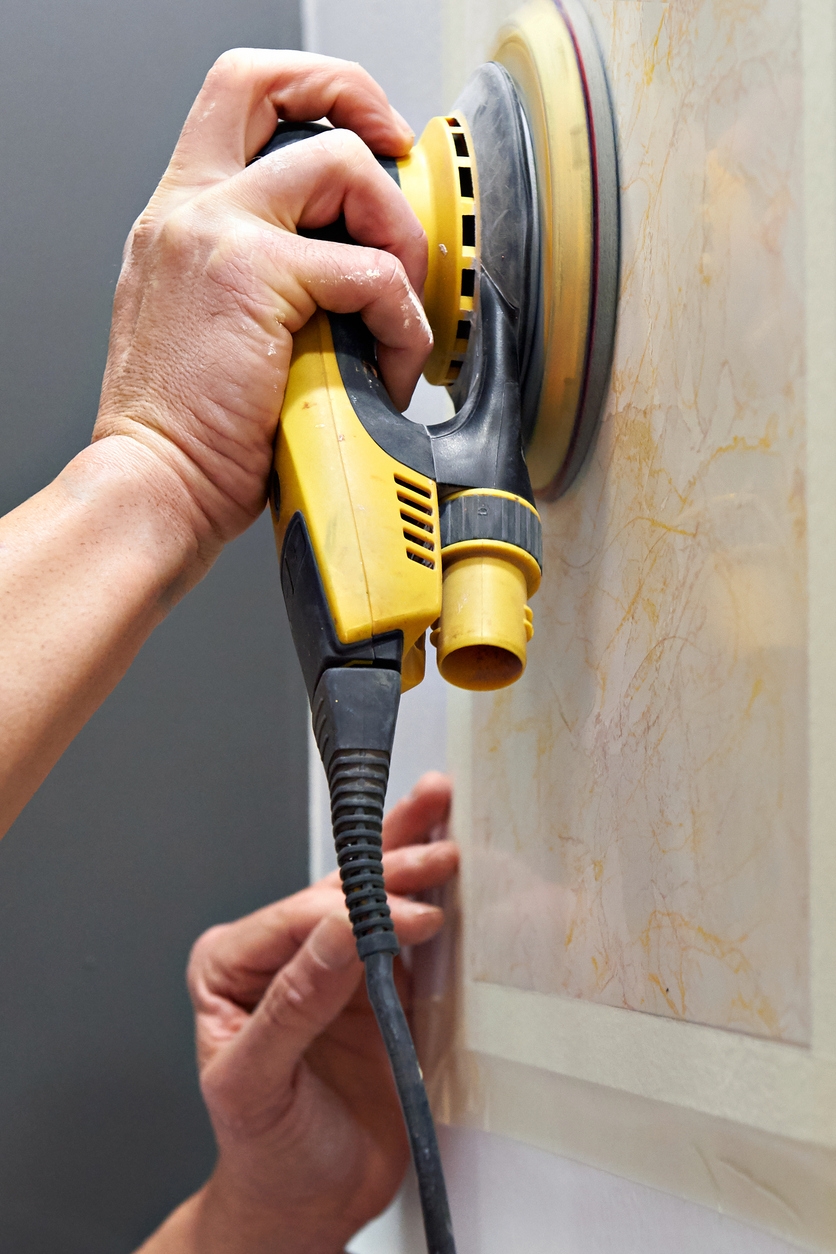
- Electric sanders: Orbital or palm sanders can speed up the process, especially for large areas.
2. Techniques:
- Sanding in circular motions: Using circular motions helps to avoid creating visible lines and ensures even smoothing.
- Progressive grit sanding: Start with a coarser grit to remove significant imperfections and then move to finer grits for finishing.
- Checking for smoothness: Periodically wipe down the surface with a damp cloth to remove dust and check for smoothness by touch.
- Dust removal: After sanding, thoroughly clean the surface to remove all dust particles. You can do this using a vacuum, a damp cloth, or tack cloths specifically designed for this purpose.
Addressing surface imperfections through proper identification, repair, and smoothing can ensure that the final paint job is flawless and long-lasting.
Enhancing durability and longevity
Proper surface preparation is crucial for enhancing the durability and longevity of a paint job. It involves several steps that help prevent future problems, protect against moisture and mold, and ensure a lasting, high-quality finish.
Preventing future problems
How proper preparation helps prevent Peeling, cracking, and blistering
- Cleaning the surface: Removing dirt, grease, and other contaminants ensures the paint adheres properly. Any residual substances can interfere with adhesion, peeling and blistering.
- Sanding and smoothing: Sanding the surface helps to create a smooth, even base for the paint. This process removes imperfections, such as old paint, rust, or rough spots, which can cause the new paint to crack or peel as it dries and ages.
- Repairing damages: Filling in cracks, holes, and other surface defects with appropriate fillers ensures that the paint has a uniform surface to adhere to. Unrepaired damages can lead to localized failures in the paint film, causing peeling and cracking.
- Priming: Applying a primer before painting creates a stable, uniform surface that enhances paint adhesion. Primers also help to seal porous surfaces, preventing the paint from soaking in unevenly and causing blistering or peeling.
Long-term benefits of a well-prepared surface for the lifespan of the paint job
- Enhanced adhesion: Properly prepared surfaces allow the paint to bond more effectively, reducing the likelihood of peeling and flaking over time. It leads to a longer-lasting finish that can withstand environmental stresses.
- Improved durability: A well-prepared surface is less susceptible to damage from environmental factors, such as temperature fluctuations, moisture, and UV exposure. This durability means the paint job will maintain its appearance and protective qualities for longer.
- Aesthetic appeal: A smooth, even surface ensures the final paint job looks professional and attractive. It enhances the property’s overall value and longevity.
Protection against moisture and mold
Importance of sealing and priming surfaces to protect against moisture
- Moisture barrier: Sealing and priming create a barrier that prevents moisture from penetrating the surface. It is crucial for porous materials like wood and drywall, which can absorb water and cause the paint to blister and peel.
- Preventing structural damage: By keeping moisture out, proper sealing and priming help prevent structural damage to the underlying material. Moisture can lead to wood rot, rust, and other forms of degradation that compromise the integrity of the painted surface.
Role of primers in preventing mold and mildew growth
- Mold-resistant primers: Many primers are formulated with mold and mildew inhibitors. These products help to create a surface that resists the growth of mold and mildew, which can cause health issues and degrade the paint film.
- Sealing porous surfaces: Primers help to seal porous surfaces, reducing the likelihood of mold and mildew spores finding a place to grow. This is particularly important in areas with high humidity or where the surface is frequently exposed to water.
- Creating a uniform surface: By creating a consistent and sealed base, primers help to prevent uneven absorption of moisture. This uniformity reduces the conditions that mold and mildew need to thrive, contributing to a healthier and more durable paint job.
Achieving a professional finish
Even application
Importance of proper surface preparation
Proper surface preparation is crucial in achieving a smooth and even paint application. It involves cleaning, repairing, sanding, and priming the surface to ensure the paint adheres well and spreads uniformly. Here’s how each step contributes:
- Cleaning: Removes dirt, grease, and other contaminants that can prevent paint from adhering properly. A clean surface allows the paint to bond effectively, reducing the likelihood of peeling or flaking.
- Repairing: Fixing cracks, holes, and imperfections ensures a smooth base. Filling and sanding these areas create a level surface, preventing uneven paint layers and visible defects.
- Sanding: Smooths out rough spots and provides a slight texture for the paint to grip. It also helps remove old paint or finishes that could interfere with the new paint application.
- Priming: Seals the surface, providing a uniform base for the topcoat. Primer can also block stains and enhance paint adhesion, creating an even finish.
Examples of professional finishes
- Interior walls: In high-end residential projects, walls are meticulously prepped by cleaning, repairing, sanding, and priming before painting. This results in a smooth, even application with no visible brush strokes or roller marks.
- Automotive painting: In car painting, surface prep includes cleaning, sanding, and priming. This level of preparation ensures an even coat, free of imperfections, and provides a glossy, professional finish.
Aesthetic appeal
Importance of surface preparation
Aesthetic appeal is significantly enhanced by proper surface preparation. A well-prepped surface ensures that the paint not only looks good but also lasts longer. Key aspects include:
- Flawless finish: Proper preparation eliminates imperfections, leading to a smooth, uninterrupted surface that enhances the overall appearance of the paint job.
- Consistent color: A uniform surface allows for consistent color application, preventing blotches or streaks that can occur with uneven surfaces.
- Durability: Prepped surfaces are more durable, reducing the likelihood of paint peeling, cracking, or fading and maintaining their aesthetic appeal over time.
Case studies
1. With proper preparation:
- Residential exterior: The exterior of the house was thoroughly cleaned, sanded, and primed before painting. The result was a smooth, durable finish that enhanced curb appeal and lasted for years without showing signs of wear.
- Office interiors: An office renovation involved meticulous wall preparation, including filling holes and sanding. The final paint job was flawless, creating a professional and welcoming environment.
2. Without proper preparation:
- DIY home project: In a rush to finish, a homeowner skipped sanding and priming. The paint job showed brush marks, and uneven color, then started peeling within months.
- Commercial space: A quick paint job on a commercial building without proper prep led to a finish with visible cracks and bubbles, requiring a costly redo within a short period.
Proper surface preparation is the key to achieving a professional-level finish. It ensures even paint application and enhances aesthetic appeal, providing durable, attractive results. Skipping these steps results in subpar finishes that detract from the overall look and longevity of the paint job.
Saving time and money in the long run
Avoiding costly mistakes
Common issues caused by inadequate preparation
- Adhesion problems: Without proper surface preparation, the paint may not adhere well, leading to peeling, blistering, or flaking.
- Surface contaminants: Dirt, grease, and other contaminants left on the surface can cause paint defects, such as fisheyes or cratering.
- Moisture issues: Failing to address moisture can lead to bubbling or blistering as the paint fails to bond with a damp surface.
- Surface imperfections: Cracks, holes, and uneven textures not properly addressed can result in an unsightly finish that may require additional coats or touch-ups.
- Compatibility problems: Inadequate surface preparation can lead to chemical reactions between old coatings and new paint, causing issues like discoloration or lifting.
Repair costs
- Rework: Fixing adhesion problems or paint defects involves stripping the failed paint, re-cleaning the surface, and repainting, which can double the material and labor costs.
- Premature failure: Paint jobs that fail prematurely require early repainting, significantly increasing long-term maintenance costs.
- Labor and material wastage: Unplanned rework consumes more labor hours and materials, increasing the overall project cost.
Investing in preparation saves money
- Prevents rework: Proper surface preparation ensures good adhesion and a defect-free finish, reducing the likelihood of costly rework.
- Extends paint life: Thorough preparation creates a stable base for the paint, enhancing its durability and longevity.
- Reduces material wastage: With fewer issues arising from poor preparation, there is less wastage of paint and other materials.
- Improves efficiency: Properly prepared surfaces are easier and quicker to paint, optimizing labor efficiency.
Efficient project execution
Streamlining the painting process
- Smooth workflow: Thorough preparation sets a solid foundation, allowing the painting process to proceed without interruptions caused by surface issues.
- Predictable results: With well-prepared surfaces, painters can achieve consistent results, reducing the need for touch-ups and additional coats.
- Better application: Prepared surfaces improve paint application, allowing for smoother and more even coverage.
Benefits of reduced downtime and faster project completion
- Minimized downtime: Proper preparation reduces the risk of unexpected delays caused by issues like peeling or bubbling, keeping the project on schedule.
- Faster completion: With fewer interruptions and a smoother painting process, projects can be completed more quickly, freeing up resources for other tasks or projects.
- Cost savings: Faster project completion translates to lower labor costs and allows for more efficient allocation of resources.
- Increased client satisfaction: Timely project completion and high-quality results bring greater client satisfaction and potential for repeat business or referrals.
Investing time and resources in proper surface preparation can significantly save time and money by preventing costly mistakes, enhancing the efficiency of project execution, and ensuring a high-quality, long-lasting finish.
Conclusion
it is crucial to emphasize the importance of not cutting corners and ensuring thorough preparation for the best results. A well-prepared surface is the foundation of a long-lasting, high-quality paint job. Skipping steps or rushing through the process can lead to subpar outcomes and costly repairs in the future.
Invest in professional surface preparation and painting services from Custom Painting, Inc. to achieve a durable and visually appealing finish. We pride ourselves on our expertise and commitment to meticulous preparation, ensuring that every project we undertake meets the highest quality and durability standards.
Call Custom Painting, Inc. at 925-294-8062 or use our contact form for a free and no-obligation estimate. Serving the Bay area including the cities of Pleasanton, San Ramon, Santa Clara, Sunnyvale and Sunol. Trust us to deliver exceptional results that stand the test of time.


