

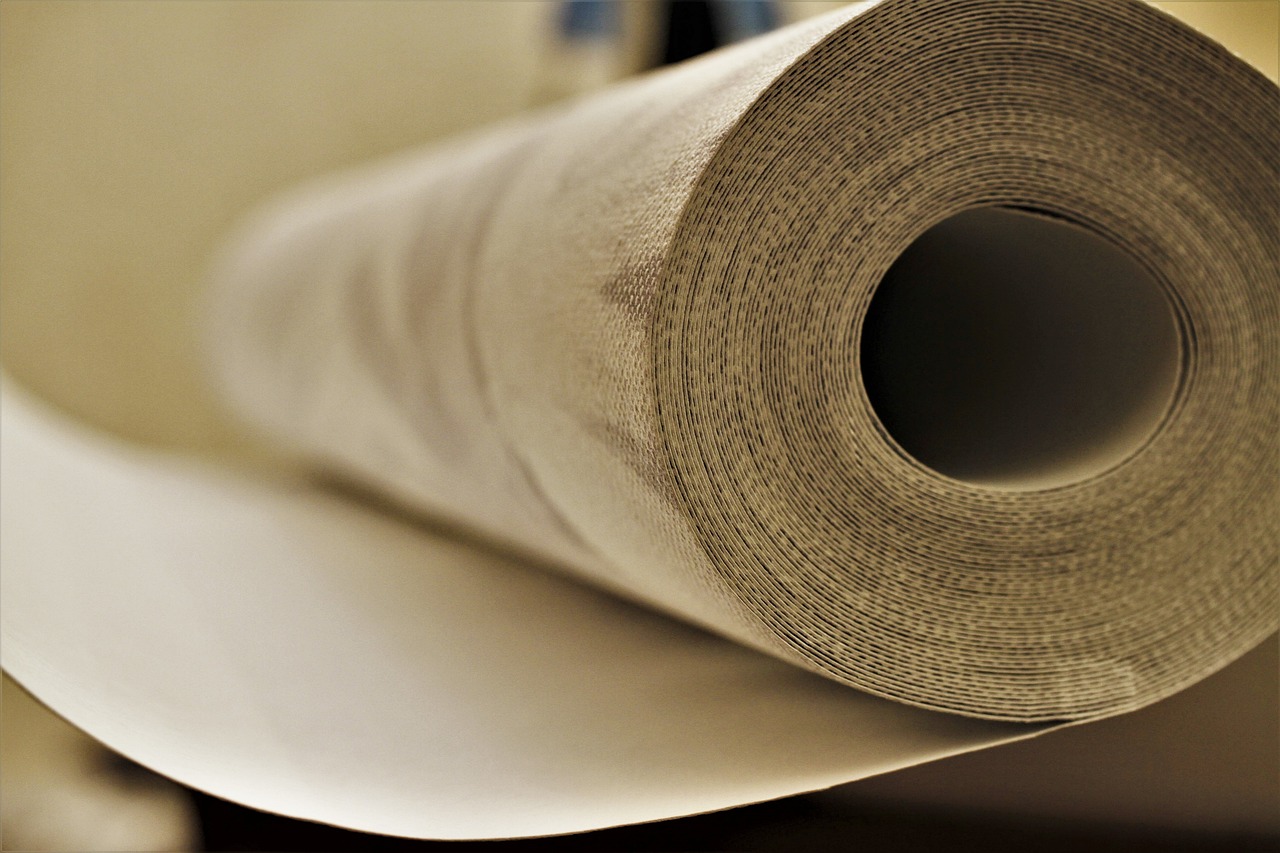
Wallpaper is a relatively quick and inexpensive way to refresh a space. It lends color, character, and texture to your walls. Prep your walls for a fresh look with our efficient wallpaper removal that leaves surfaces smooth and ready to paint.
However, there comes a time when you will say goodbye to your wallpaper for the following reasons:
- Signs of deterioration (discoloration, musty odor, peeling, bubbling, mold, mildew, etc.)
- Changing personal tastes
- Evolving design trends
It might be time to change things up in any of those cases. While you could try painting over your old wallpaper as it is the easier route, professionals do not usually recommend it. Here are a few reasons I need wallpaper removal and replacement.
- It can reveal existing wall damage.
- It can update and modernize your interior space.
- It can prevent damage to drywall.
- It can improve indoor air quality.
- It can boost your home’s value.
Common wallpaper and replacement issues
Removing wallpaper isn’t as simple as merely peeling it off the wall. Many wallpaper types come with an adhesive that will come off easily, such as the peel-and-stick wallpaper. Some types may leave a paper backing or leftover glue when peeled off, and traditional wallpaper is the most challenging to remove as it is intended to stick to the walls permanently.
When dealing with traditional wallpaper, it’s also important to remember that it may contain lead and other toxins. So, it would be best to have your old wallpaper tested first. Removing it requires extra safety precautions if it contains lead and other toxins.
No matter which type of wallpaper you’re dealing with, remember to peel it off gently and carefully to avoid damaging your drywall. Trying to peel it off in a rush may damage your drywall and can lead to more removal mistakes.
When replacing old wallpaper with a new one, you may experience issues such as trapped air bubbles or misaligned patterns, especially if this is your first time doing it. Here are some common issues of wallpaper replacement and the solutions to each:
- Air bubbles and wrinkles – Trapped moisture is usually the cause of air bubbles and wrinkles, which are not presentable. To keep this from happening, smooth out any air bubbles or wrinkles with a wallpaper smoother as you hang each wallpaper strip.
- Overlapping or misalignment – The most critical thing about overlapping or misalignment is that it can ruin the entire appearance of your wallpaper. So, be patient and take your time to make sure that your wallpaper achieves proper alignment. You can use a carpenter’s level or plumb line to ensure that each strip is kept straight and smooth in every strip so that they are closely butted together for a seamless finish.
- Wallpaper doesn’t stick – Your wallpaper may not stick to the surface, probably because you are using the wrong paste or adhesive. There are different types of wallpaper paste, glue, or adhesive specifically designed for each type of wallpaper. So, consider the type of wallpaper you’ll be hanging before buying paste or adhesive, and follow the manufacturer’s instructions. For example, vinyl wallpaper may require vinyl over vinyl adhesive. Using the right adhesive ensures that your wallpaper will stick properly.
- Damaged wallpaper during installation – Just like in painting, you must prepare the surface before hanging your wallpaper. Prep work is essential, especially after stripping the old wallpaper, as there may be lingering paper and glue on the surface. Make sure to check for other flaws, such as cracks, holes, dents, or bumps in the underlying surface that could damage your new wallpaper. Remove bits of paper and glue left over from the stripping, patch any cracks or holes, and smoothen the surface before installing your new wallpaper.
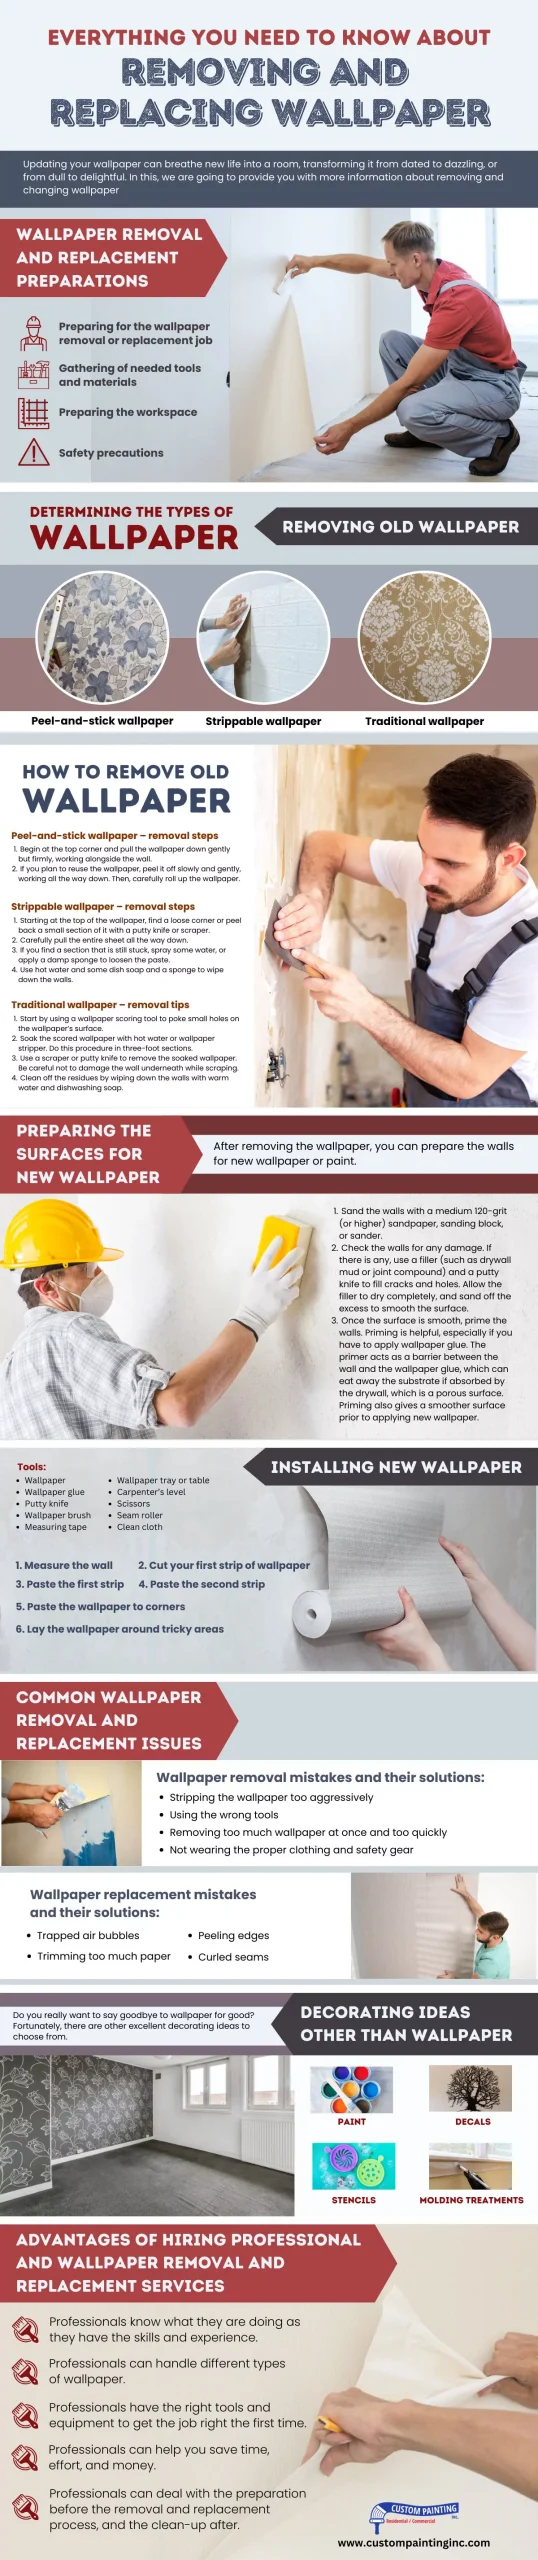
Wallpaper removal and replacement preparations
Removing and replacing wallpaper requires patience and endurance since it is repetitive work, but it is doable.
Three recommended wallpaper removal methods are water and vinegar, wallpaper stripper, and steam. Like in any other home improvement project, approach wallpaper removal with a plan. It is also important to determine which removal method suits you best.
Tools and materials needed
1) Water and vinegar method:
- Tools
- Spray bottle
- Putty knife
- Materials
- Water
- Vinegar
- Plastic sheet
- Tape
2) Wallpaper stripper method:
- Tools
- Wallpaper scoring tool
- Putty knife
- Clean sponge
- Materials
- Wallpaper stripper in a spray bottle
- Plastic sheet
- Tape
3) Steam method:
- Tools
- Wallpaper steamer
- Wallpaper scoring tool
- Putty knife
- Clean sponge
- Materials
- Plastic sheet
- Tape
Preparing the workspace
Prepare your workspace by keeping it clear of any obstructions. You will want to protect the flooring, electrical outlets, light switches, and other surfaces since you are going to use liquid or moisture to soften the wallpaper before removing it. Follow the preparation steps here:
- Remove wall décor and fixtures.
- Remove curtains or drapes.
- Move furniture to the center of the room or out of the room (if possible).
- Cover the remaining furniture with drop cloths or plastic sheeting.
- Lay down the drop cloths on the floor.
- Tape the drop cloths down to keep them in place.
Safety precautions
Before stripping your old wallpaper, follow these essential safety steps:
- Shut off the electricity in the work area.
- Cover light switches and sockets with painter’s tape.
- Wear protective gear (rubber gloves, safety goggles, dust mask or respirator, etc.) and proper clothing (light, breathable, not too loose but not too restrictive, and easily washable).
- Make sure that the space is well-ventilated by keeping the windows and doors open and using fans to ensure proper airflow.
Steps in wallpaper removal
The common types of wallpaper
- Self-adhesive or peel-and-stick – Self-adhesive wallpaper functions like a sticker – just peel off the backing and stick it to the wall. It is easy to remove and replace and can also be reused. This type of wallpaper is an ideal choice if you redecorate often.
- Pre-pasted or strippable wallpaper – Strippable wallpaper has a pre-pasted backing. All it needs is water, and it can be ready for application. If you’re going to remove it, it can be stripped dry, leaving some adhesive bits of paper or adhesive on the wall.
- Non-pasted or traditional wallpaper – This wallpaper does not come with an adhesive, so you’ll need to apply paste or glue to the wall before hanging the wallpaper. The adhesion process can be messy, but it tends to produce long-lasting results. But removing it can be laborious and time-consuming, and you may risk damaging your drywall if you’re not doing it right.
Removal methods
Any of these three removal methods will work, assuming that you’re dealing with strippable or traditional wallpaper (peel-and-stick wallpaper does not typically require special removal tools).
Water and vinegar method:
- Mix equal parts water and vinegar in a spray bottle.
- Spray the area with the solution generously.
- Once sufficiently soaked, the wallpaper will separate from the surface.
Wallpaper stripper method:
- Spray the wallpaper stripper onto the surface.
- Use a sponge to spread the wallpaper stripper over an area of around 2 feet by 2 feet.
- Let the product sit for around 5 minutes as it penetrates the paper.
- Wipe away any drips.
- Next, use the putty knife to lift the paper away gently – it should lift off easily.
- If the wallpaper doesn’t lift away easily, use the scoring tool to score the wallpaper, making about ten holes in every square inch.
- Repeat the steps from 1 to 5.
- Clean away the last bits of paper and adhesive with a damp cloth.
Steam method:
- Using the wallpaper steamer by following the manufacturer’s instructions, hold the steamer plate flat against the wall. Try 15 to 20 seconds for the steamer to work. Remove the plate afterward.
- Right after removing the steamer plate, start peeling up that section of the wallpaper using a putty knife.
- If the wallpaper doesn’t lift easily, score the wallpaper with the scoring tool and steam that section again. Then, try peeling it up.
- Continue with this process until all paper is removed.
- Steam the wall again to loosen the leftover adhesive and scrape it up gently.
- Once the walls have been cleared of paper and glue, use a clean, damp sponge to wipe down the wall.
Steps in installing the new wallpaper
Tools and materials needed for this job:
- Wallpaper
- Wallpaper paste
- Putty knife
- Wallpaper brush
- Measuring tape
- Plumb line or level
- Scissors
- Knife
- Ruler
- Clean cloth
Preparing the surfaces for new wallpaper
After removing the wallpaper, you can now get the walls ready for new wallpaper:
- Start by sanding the surfaces with a medium 120-grit (or higher) sandpaper, sanding block, or sander.
- Inspect the walls for any damage. Use a filler (such as a joint compound) and a putty knife to fill cracks and holes. Allow the filler to dry completely. Sand off the excess to smooth the surface.
- Prime the walls. Priming is helpful, especially if you have to apply wallpaper glue. The primer acts as a barrier between the wall and the wallpaper glue, which can eat away the substrate if absorbed by the drywall, which is a porous surface. Priming also enables the wallpaper to stick more easily to the surface, especially if the walls are covered with glossy paint.
Hanging the new wallpaper
Now that your walls are clean, dry, and smooth, it’s time to cover them.
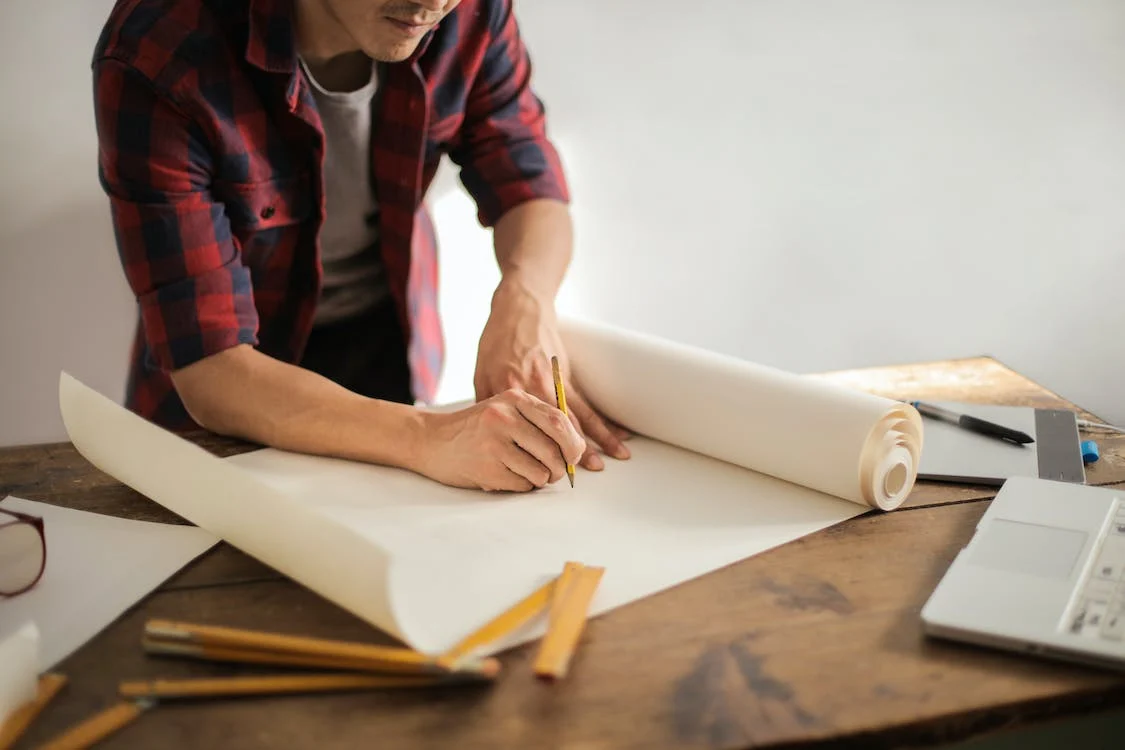
- Measure your wall to make sure of how long your wallpaper should be. While measuring, add around 20 centimeters to make leeway at the top or bottom. This is helpful, especially for covering up incorrect measurements.
- Using your plumb line or carpenter’s level, mark a vertical line on the wall right next to where the first strip should be applied. This vertical line will serve as your guide when hanging your first strip.
- Unroll your new wallpaper and spread it gently across the table. Using a light pencil, make marks and draw lines on where the wallpaper should be cut. Then, cut the wallpaper lightly and carefully – this is going to be your first strip. Repeat the process to make as many strips as needed.
- Apply your wallpaper paste to the wall in even layers. Start applying from the top of the wall, the work all the way down.
- Once you’ve applied the wall with paste, position your wallpaper to check to see if it’s aligned. If it looks straight, hang your first strip to the top. Using a clean cloth, smooth the paper from the center to the edges.
- Trim off any excess paper using a knife and ruler.
- If you’re wallpapering around light switches and sockets, first cover them up with a wallpaper strip. Then, use a knife to make a cut around them to clean the edges.
- Smooth the seams as you go. Remember to always smooth out from the middle of the strip to avoid wrinkles and trapped air bubbles. Smooth the paper down with a wallpaper brush or cloth.
- Repeat the process for the rest of the walls.
Decorating ideas other than new wallpaper
You can try any of the following decorating ideas without the expense, mess, and hassle of wallpaper.
- Paint – The most obvious alternative to wallpaper is paint. While it’s not exactly the cheapest decorating alternative, it’s basically a fail-safe option for decorating a space, especially if you have striking furniture and décor. Custom Painting, Inc.’s team of interior painters in the Bay Area, CA, can help you through the process. You can contact us to come over and do your entire room. We will be able to quote your project accordingly.
- Decals – Vinyl decals are a quick and great way to fill up your walls or hide an unsightly stain. Decals are temporary decorating options, making them ideal for those who constantly change the look of their space. There are tons of decal designs to choose from, from minimalist to elaborate.
- Stencils – Stenciling gives your room a classy and elegant touch to your space. It is also a low-cost decorating option for wallpaper. While stencils are time-consuming and labor-intensive, they are timeless and offer many design options.
- Molding treatments – There are many fun molding options that don’t require prior carpentry experience. While they are more permanent than decals, molding treatments tend to be more appealing than wallpaper and can add significant value to your home, which helps if you resell it. No worries if you decide to take them down because moldings are easier to remove than wallpaper.
Conclusion
Removing old wallpaper and installing a new one can be a complicated process. They require patience, endurance, precision, and the correct tools and materials.
Homeowners may not have the time, expertise, patience, and the right tools to do the job themselves without difficulties. The process can get tedious and frustrating. It is also a tricky one that leads to unnecessary wall damage. Homeowners may end up spending a lot more to fix their mistakes, but the results are most likely below par and not up to their expectations. So, hiring professional wallpaper removal and replacement services is much better.
If you need help with wallpaper removal and installation, hire Custom Painting, Inc.’s team of wallpaper removal and installation professionals. When you work with us, you can rest assured that we will provide superior quality service and exceptional results. Our team deals with every type of wallpaper removal and installation project and will be there throughout the process. Serving the Bay area including the cities of Alamo, Antioch, Bay Point, Benicia and Blackhawk.
In addition to wallpaper removal and installation, Custom Painting, Inc. has been providing residential and commercial painting, light carpentry, and custom installation services to homes and businesses in the Bay Area. Experience the Custom Painting, Inc. difference by calling us at 925-294-8062 or scheduling a free estimate.