
Proper preparation is critical when it comes to painting the exterior of your home. It’s not just about picking the right color and getting the job done quickly. Proper preparation can save you time and money and significantly enhance your home’s curb appeal.
Imagine walking up to a freshly painted house with smooth, even walls and a vibrant, lasting finish. That’s what proper prep work can achieve! From prep to final coat, our exterior painting pros deliver weather-resistant, vibrant finishes.
Now, if you want to save some money by doing the prep work yourself before the pros handle the painting, here’s what you need to do.
Clear the Area
First, you need to clear the area around your home. This means removing any furniture, decorations, or other items near the foundation. Think about things like patio furniture, garden gnomes, or even your barbecue grill. These items can get in the way and might get damaged or paint-splattered during the painting process.
If you have vehicles parked nearby, moving them to a safe distance is a good idea. Paint and cleaning solutions can easily splatter, and you don’t want to accidentally ruin your car’s finish. Also, cover driveways or pathways with drop cloths to protect them from drips and spills.
Protect Landscaping
When you’re getting ready to paint the exterior of your home, protecting your landscaping is a must. Your plants and shrubs add beauty to your home; you don’t want them covered in paint splatters.
To shield your greenery, use drop cloths or plastic sheeting. Simply drape these materials over your plants and shrubs to keep them safe. But don’t stop there—make sure the covers stay in place by securing them with weights or stakes. This will prevent them from blowing away in the wind, ensuring your plants remain protected throughout the entire painting process.
Clean the Walls
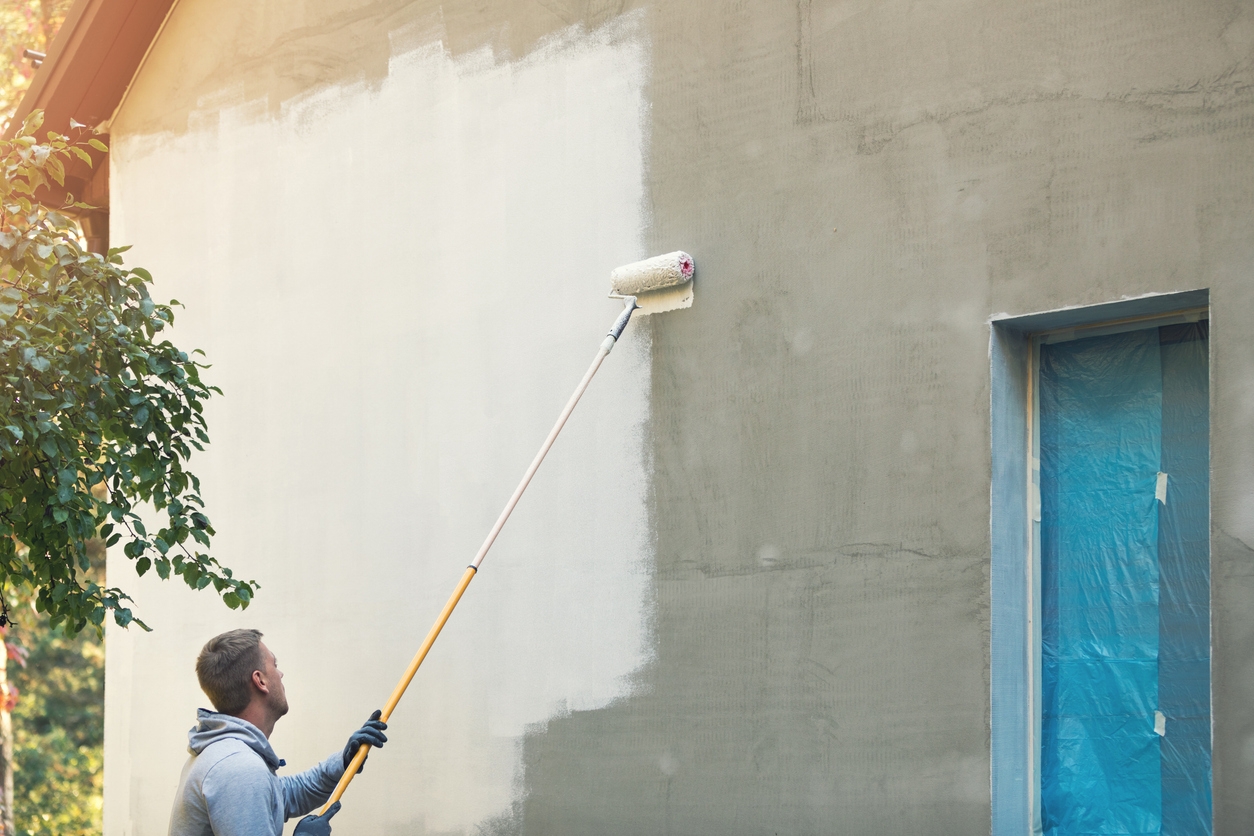
Next up is cleaning the walls, a crucial step to ensure your paint job looks flawless and lasts a long time. Start using a pressure washer to remove dirt, mildew, and loose paint. This powerful tool will help you achieve a clean, smooth surface, which is essential for the new paint to adhere properly.
After washing, it’s important to let the walls dry completely. Painting on wet or damp surfaces can lead to peeling and bubbling, which you definitely want to avoid. So, give your walls plenty of time to dry out—it’s a small step that makes a big difference in the final result.
Clean the Walls
To achieve a pristine paint job, starting with clean walls is essential. Using a pressure washer is a highly effective way to remove dirt, mildew, and any loose paint from the surface. The strong stream of water can reach into crevices and clean areas that would be difficult to scrub by hand.
After you’ve thoroughly washed the walls, the next step is to let them dry completely. Depending on the weather, this might take a few hours or even a day. Painting over damp walls can cause the paint to peel or bubble, so be patient and ensure the surface is dry before moving on to the next step. Taking this time ensures that your new paint will adhere properly and look its best for years to come.
Repair Surfaces
Inspecting and repairing your walls is a crucial step in the painting process. Begin by carefully examining the walls for any signs of damage, such as cracks or holes. These imperfections need to be addressed to ensure a smooth and even paint job.
For any cracks you find, use an exterior-grade filler to fill them in. This type of filler is designed to withstand outdoor conditions, providing a durable repair. Once the filler is applied and dried, sand it smooth to blend seamlessly with the rest of the wall.
If you come across any rotted or damaged siding, it’s best to replace it entirely. Damaged siding can lead to more significant issues down the line, so taking care of it now will save you time and trouble in the future.
Scrape and Sand
After identifying and repairing any damage to your walls, the next step is to ensure the surface is smooth and ready for painting. This involves two important tasks: scraping and sanding.
First, use a putty knife or a paint scraper to remove any loose or peeling paint. It’s crucial to get rid of this old, flaky paint because painting over it can also cause the new paint to peel off. Take time with this step to remove all loose paint thoroughly.
Once you’ve scraped off the loose paint, the next step is sanding. Sanding the edges of the remaining paint creates a smooth surface, which is essential for a professional-looking finish. Use sandpaper to gently smooth out the rough edges where the old paint meets the bare wall. This will help the new paint adhere better and ensure a seamless transition between the old and new layers.
Prime the Surface
After scraping and sanding, it’s time to prime the surface. Priming is a crucial step that shouldn’t be skipped. Start by applying a high-quality primer to any bare wood or areas you’ve repaired. The primer helps seal the surface, providing a better base for the paint to adhere to.
Choose a primer suitable for the specific exterior material you’re working with, whether it’s wood, metal, or masonry. Using the right primer will enhance the durability and appearance of your paint job, ensuring it looks great and lasts longer.
Priming is like laying the foundation for a building—it sets the stage for everything that comes next. With a good primer in place, your paint will go on smoothly, look more vibrant, and withstand the elements better.
Choose the Right Paint
Selecting the right paint for your exterior project is key to achieving a beautiful, long-lasting finish. Start by choosing a paint that is specifically formulated for exterior use. Exterior paints are designed to withstand the elements, providing better durability and protection against weather conditions.
Consider the local climate and weather conditions when selecting your paint. For instance, if you live in an area with high humidity, you might need paint with mildew-resistant properties. In regions with intense sun, UV-resistant paint can help prevent fading.
Next, think about the finish you want. Paint finishes come in various options, such as matte, satin, and gloss. Matte finishes provide a more subdued look, while satin finishes offer a bit of sheen and are easier to clean. Gloss finishes are very durable and give a shiny, polished look but can highlight surface imperfections.
Gather Supplies
Before you start painting, gather all the necessary supplies. You’ll need brushes, rollers, and paint trays to apply the paint smoothly and efficiently. Have ladders, scaffolding, or extension poles on hand to reach higher areas. Safety is crucial, so make sure to use goggles, gloves, and masks to protect yourself from paint fumes and debris.
Consider the Weather
When planning your painting project, choose dry days with moderate temperatures for the best results. Avoid painting in direct sunlight, as it can cause the paint to dry too quickly and lead to uneven coverage. Windy conditions can also be problematic, blowing dust onto wet paint and causing a mess. Selecting the right weather conditions will ensure a smoother application and a more durable finish.
Make Some Final Preparations
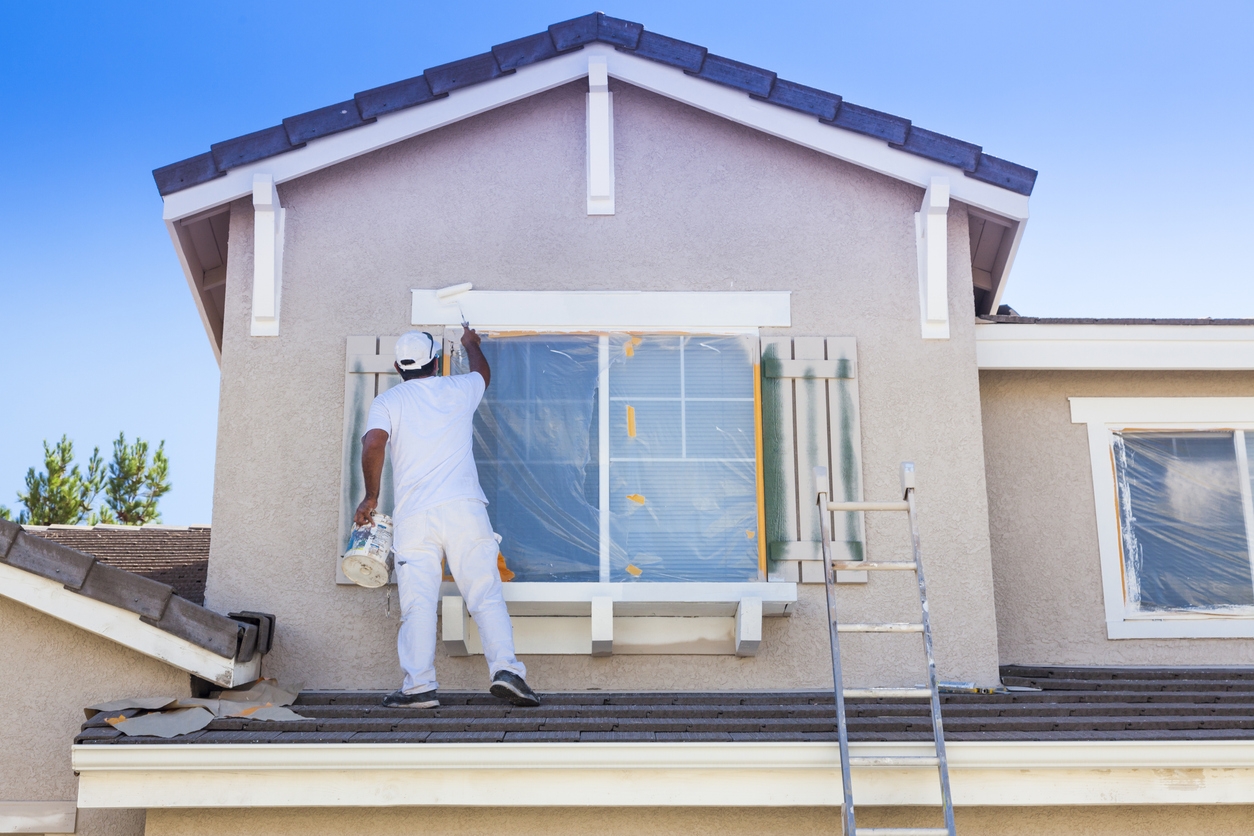
Before you begin painting, take some final steps to ensure a neat and professional finish. Start by taping off windows, doors, and trim to protect them from paint splatters. Use painter’s tape to cover these areas carefully, ensuring clean, sharp lines when you remove them.
Double-check that all surfaces are clean, dry, and smooth. This is your last chance to address any issues before the paint goes on. Make a thorough inspection to help you catch any missed spots or imperfections that could affect the final look.
Conclusion
Proper preparation is essential for a successful exterior painting project. By taking the time to clean, repair, and prime your surfaces, gathering the right supplies, and considering the weather, you’re setting yourself up for success. With these steps, you can start your painting project with confidence. Serving the Bay area including the cities of Antioch, Blackhawk, Danville, Fremont and Livermore.
If you need assistance or want to ensure the best possible results, don’t hesitate to call Custom Painting, Inc. at 925-294-8062 or use our contact form. We’re here to help you achieve the perfect finish for your home!