

When it comes to updating the exterior of your house, staining and painting are two popular options. While both can enhance the appearance and protect the surface, the processes involved are not identical. In this article, we’ll discuss the differences between staining and painting a house, including the steps, materials, and techniques required for each. Understanding these distinctions can help you make an informed decision for your home improvement project. Enhance curb appeal and prolong siding lifespan with expert vinyl and aluminum siding painting services—schedule your free quote today.
Understanding the Basics
To make an informed decision about whether to stain or paint your house, it’s essential to understand the basics of each process.
What is Staining?
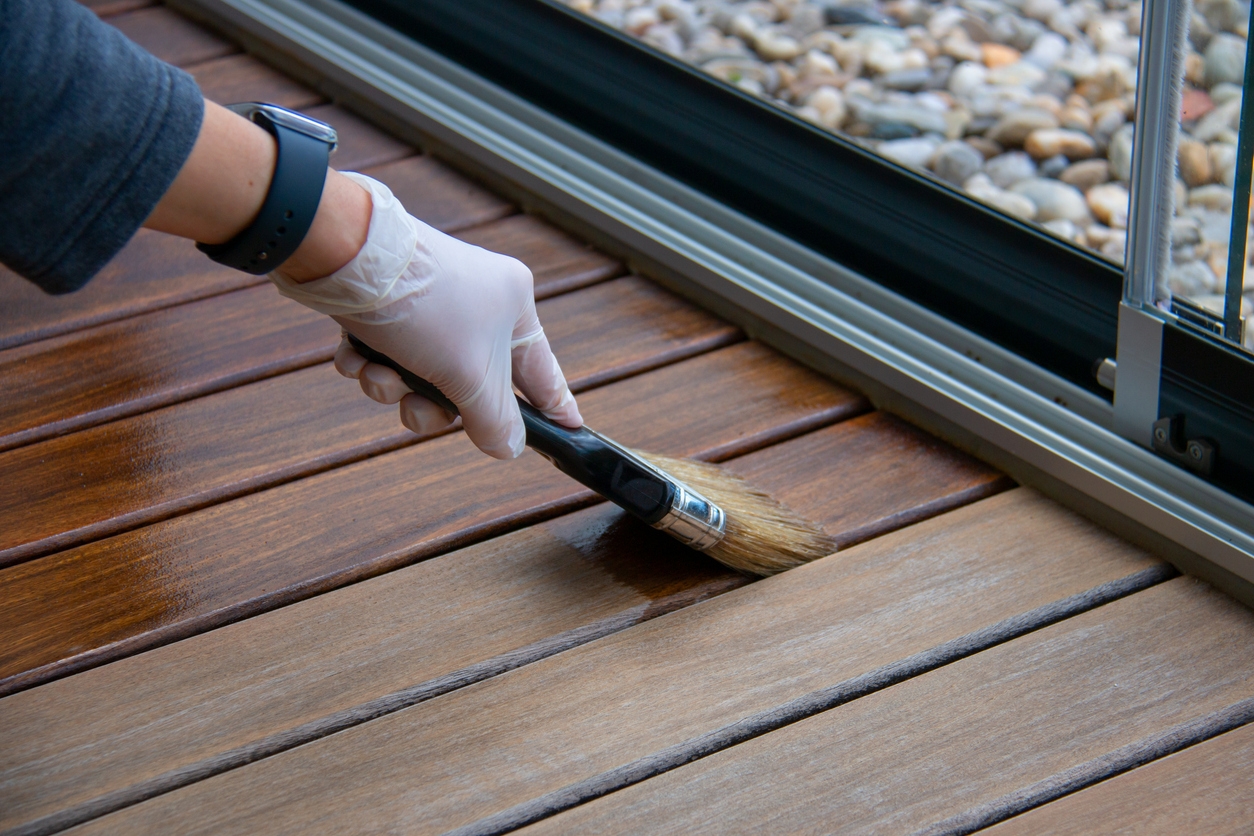
Staining involves applying a colored substance to wood surfaces to enhance their natural appearance and protect them from environmental damage. Unlike paint, which creates a solid layer on top of the wood, stain penetrates the wood fibers, allowing the natural grain and texture to show through. The primary purpose of staining is to add color and protection while maintaining the wood’s natural beauty.
Types of Stains
There are several types of stains, each with unique characteristics and benefits:
- Oil-Based Stains: These stains penetrate deeply into the wood, providing excellent durability and rich color. They are ideal for exterior surfaces but require longer drying times and proper ventilation during application.
- Water-Based Stains: These stains are easier to clean up and have quicker drying times compared to oil-based stains. They are environmentally friendly and produce fewer fumes, making them a popular choice for interior surfaces.
- Gel Stains: These are thick, gel-like stains that sit on the surface of the wood rather than penetrating deeply. They are ideal for vertical surfaces and can be used on non-wood materials, such as fiberglass.
What is Painting?
Painting involves applying a colored coating to a surface to protect it and enhance its appearance. Unlike staining, paint creates a solid, opaque layer that covers the surface completely. The primary purpose of painting is to provide a protective barrier against moisture, UV rays, and other environmental factors while offering a wide range of color options to suit any aesthetic preference.
Types of Paints
There are various types of paints, each suited for different applications and surfaces:
- Latex Paint: This water-based paint is known for its quick drying time, easy cleanup, and low odor. It is flexible, which helps prevent cracking and peeling, making it a popular choice for both interior and exterior surfaces.
- Oil-Based Paint: This type of paint offers a durable and smooth finish, making it ideal for high-traffic areas and trim work. However, it has a longer drying time and requires solvents for cleanup.
- Acrylic Paint: A type of latex paint, acrylic paint is made with acrylic resins, providing excellent adhesion and durability. It is resistant to weather and UV damage, making it suitable for exterior surfaces.
Understanding these basics will help you determine whether staining or painting is the best option for your house based on your specific needs and preferences.
Surface Preparation
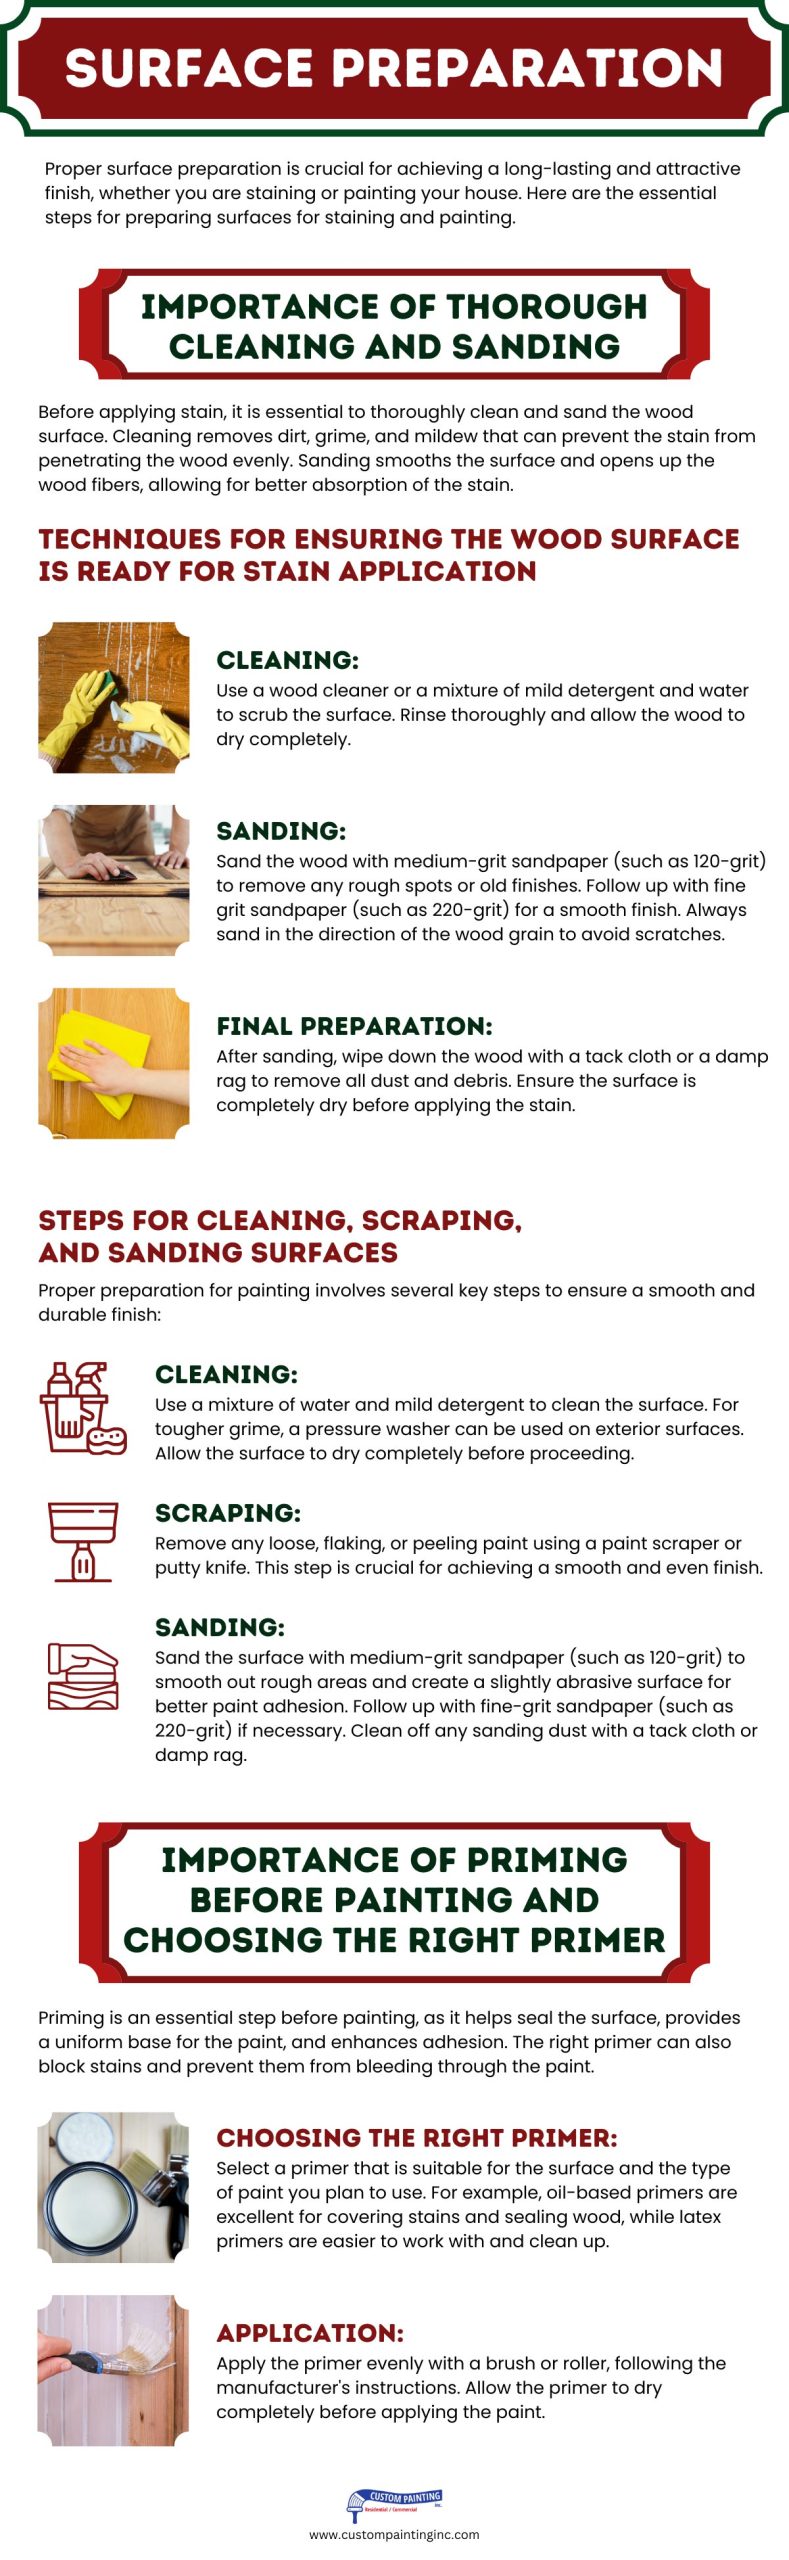
Proper surface preparation is crucial for achieving a long-lasting and attractive finish, whether you are staining or painting your house. Here are the essential steps for preparing surfaces for staining and painting.
Importance of Thorough Cleaning and Sanding
Before applying stain, it is essential to thoroughly clean and sand the wood surface. Cleaning removes dirt, grime, and mildew that can prevent the stain from penetrating the wood evenly. Sanding smooths the surface and opens up the wood fibers, allowing for better absorption of the stain.
Techniques for Ensuring the Wood Surface is Ready for Stain Application
- Cleaning: Use a wood cleaner or a mixture of mild detergent and water to scrub the surface. Rinse thoroughly and allow the wood to dry completely.
- Sanding: Sand the wood with medium-grit sandpaper (such as 120-grit) to remove any rough spots or old finishes. Follow up with fine-grit sandpaper (such as 220-grit) for a smooth finish. Always sand in the direction of the wood grain to avoid scratches.
- Final Preparation: After sanding, wipe down the wood with a tack cloth or a damp rag to remove all dust and debris. Ensure the surface is completely dry before applying the stain.
Steps for Cleaning, Scraping, and Sanding Surfaces
Proper preparation for painting involves several key steps to ensure a smooth and durable finish:
- Cleaning: Use a mixture of water and mild detergent to clean the surface. For tougher grime, a pressure washer can be used on exterior surfaces. Allow the surface to dry completely before proceeding.
- Scraping: Remove any loose, flaking, or peeling paint using a paint scraper or putty knife. This step is crucial for achieving a smooth and even finish.
- Sanding: Sand the surface with medium-grit sandpaper (such as 120-grit) to smooth out rough areas and create a slightly abrasive surface for better paint adhesion. Follow up with fine-grit sandpaper (such as 220-grit) if necessary. Clean off any sanding dust with a tack cloth or damp rag.
Importance of Priming Before Painting and Choosing the Right Primer
Priming is an essential step before painting, as it helps seal the surface, provides a uniform base for the paint, and enhances adhesion. The right primer can also block stains and prevent them from bleeding through the paint.
- Choosing the Right Primer: Select a primer that is suitable for the surface and the type of paint you plan to use. For example, oil-based primers are excellent for covering stains and sealing wood, while latex primers are easier to work with and clean up.
- Application: Apply the primer evenly with a brush or roller, following the manufacturer’s instructions. Allow the primer to dry completely before applying the paint.
By thoroughly preparing the surface, you ensure that the stain or paint adheres properly and provides a beautiful, long-lasting finish.
Application Techniques
Applying stain or paint correctly is key to achieving a professional-looking finish. Let us discuss the various techniques for staining and painting, along with tips for ensuring the best results.
Staining Techniques
Methods for Applying Stain
There are several methods for applying stain, each with its own benefits:
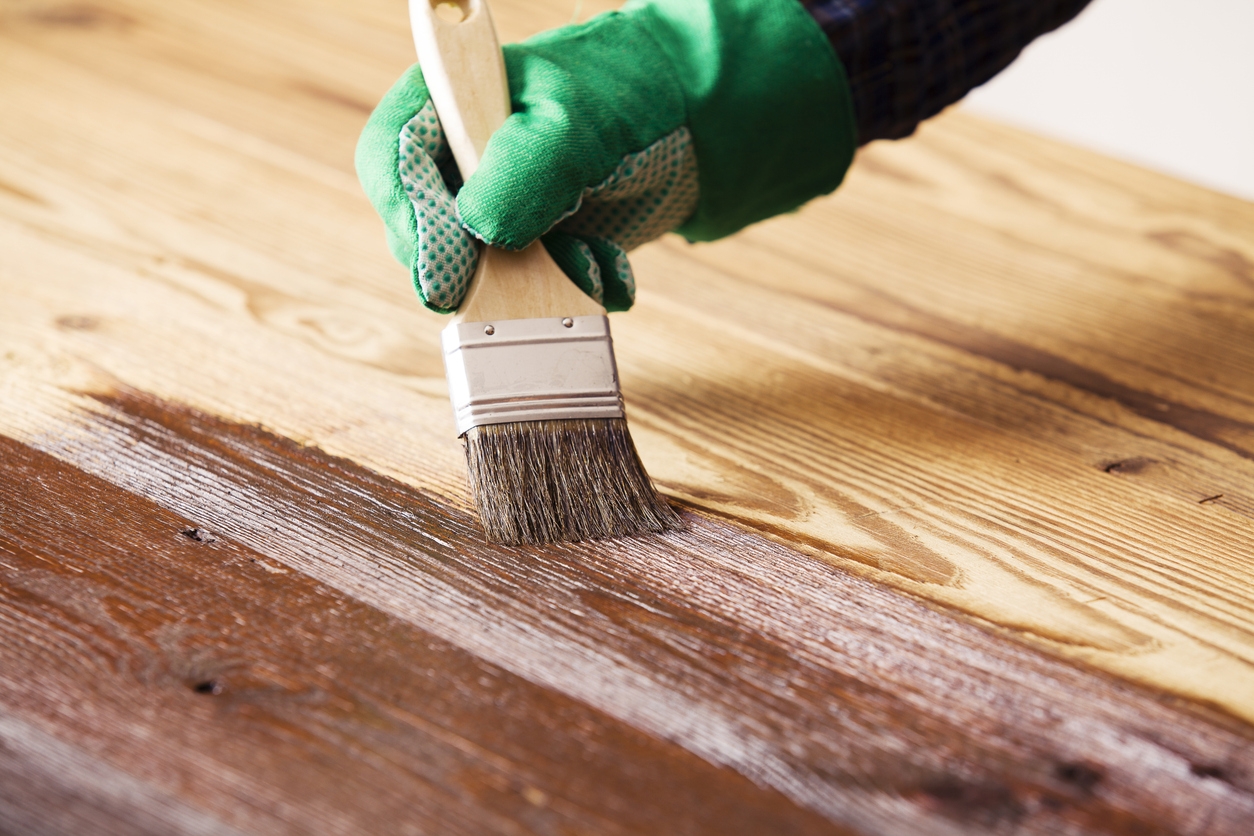
- Brush: Using a brush allows for precise application and is ideal for smaller areas or intricate details. Choose a natural bristle brush for oil-based stains and a synthetic bristle brush for water-based stains.
- Cloth: A cloth application is great for achieving a smooth and even finish. Dip a clean, lint-free cloth into the stain and rub it into the wood in the direction of the grain. This method is particularly useful for wiping away excess stains to avoid blotches.
- Sprayer: Using a sprayer can provide a quick and even application over large areas. However, careful control is required to avoid overspray and uneven coverage. Sprayers are best suited for exterior projects or large, flat surfaces.
Tips for Achieving an Even and Consistent Finish
- Test First: Always test the stain on a small, inconspicuous area to ensure you like the color and finish.
- Apply Evenly: Apply the stain evenly and in the direction of the wood grain to avoid streaks and blotches. Work in manageable sections to ensure consistent coverage.
- Wipe Off Excess: Allow the stain to penetrate the wood for the recommended time, then wipe off any excess with a clean cloth to avoid a sticky or uneven finish.
- Multiple Coats: For a deeper color, apply multiple thin coats rather than one thick coat. Allow each coat to dry completely before applying the next.
Painting Techniques

Methods for Applying Paint
There are several methods for applying paint, each suitable for different situations:
- Brush: Using a brush is ideal for small areas, edges, and detailed work. Choose a high-quality brush to minimize brush marks and achieve a smooth finish.
- Roller: Rollers are excellent for covering large, flat surfaces quickly and evenly. Use a roller with the appropriate nap length for the surface texture you are painting.
- Sprayer: A sprayer can provide a smooth, even finish and is particularly useful for large projects or surfaces with complex textures. Proper technique and control are essential to avoid overspray and ensure even coverage.
Tips for Achieving Smooth Coverage and Avoiding Brush Marks or Drips
- Load Properly: Load your brush or roller with a moderate amount of paint to avoid drips and ensure even coverage. Remove excess paint by tapping the brush or roller against the side of the paint can.
- Maintain a Wet Edge: To avoid lap marks, work in small sections and maintain a wet edge by blending each stroke into the previously painted area.
- Smooth Strokes: Use smooth, even strokes with a brush and apply light pressure to avoid visible brush marks. With a roller, roll in a “W” or “M” pattern to distribute the paint evenly before filling in the gaps.
- Avoid Overworking: Once the paint starts to dry, avoid going back over it with a brush or roller, as this can cause streaks and an uneven finish.
- Watch for Drips: Check for drips or runs, especially around edges and corners, and smooth them out immediately with a brush or roller.
By following these techniques and tips, you can achieve a professional and attractive finish, whether you are staining or painting your house.
Drying and Curing Times
Understanding the drying and curing times for stain and paint is crucial for achieving a durable and high-quality finish. Let us explore the factors that influence these times and the importance of allowing adequate drying and curing.
Drying Time for Stain
Factors Affecting Stain Drying Time
Several factors can influence how quickly a stain dries:
- Type of Stain: Oil-based stains typically take longer to dry than water-based stains. Gel stains also have unique drying times that can vary.
- Weather Conditions: Humidity, temperature, and airflow significantly affect drying times. High humidity and low temperatures can slow down the drying process, while good ventilation and warm temperatures can speed it up.
- Wood Type and Condition: The porosity and condition of the wood can also impact drying times. Softwoods generally absorb stains more quickly than hardwoods, affecting how long it takes to dry.
Importance of Allowing Adequate Curing Time for Durability
Allowing the stain to cure properly is essential for achieving maximum durability and protection. While a stain may feel dry to the touch within a few hours, it often requires a longer curing period to fully harden and bond with the wood fibers. This curing time can range from 24 hours to several days, depending on the stain type and environmental conditions. Rushing the process can lead to a finish that is less durable and more susceptible to damage.
Drying Time for Paint
Factors Affecting Paint Drying Time
Several factors can influence paint drying times:
- Type of Paint: Latex and acrylic paints usually dry faster than oil-based paints. Latex paint can be dry to the touch within an hour, while oil-based paints can take up to 24 hours or more.
- Weather Conditions: For example, stain and paint drying times are affected by humidity, temperature, and airflow. Higher humidity and lower temperatures can extend drying times, while warm, dry, and well-ventilated conditions can reduce them.
- Surface Condition: The condition and preparation of the surface being painted can also impact drying times. Smooth, properly primed surfaces typically allow for quicker drying than rough or unprimed surfaces.
Importance of Allowing Sufficient Time Between Coats and for Final Curing
Allowing adequate time between coats is crucial for achieving a smooth and durable finish. Applying a second coat too soon can lead to issues such as peeling, bubbling, or uneven coverage. For latex and acrylic paints, it’s generally recommended to wait at least 4-6 hours between coats, while oil-based paints may require a 24-hour interval.
Final curing is also essential for paint durability. Although the paint may be dry to the touch within hours, it often takes several days to weeks for it to fully cure and harden. During this period, it’s important to avoid heavy cleaning or placing objects against painted surfaces to ensure a strong, long-lasting finish.
By understanding and respecting the drying and curing times for stains and paints, you can achieve a professional and durable result that enhances the beauty and longevity of your house’s exterior or interior surfaces.
Maintenance and Longevity
Proper maintenance can significantly extend the lifespan and appearance of stained and painted surfaces. Here are the key aspects of maintaining both stained and painted surfaces to ensure they remain in excellent condition for years to come.
Maintenance of Stained Surfaces
Stained surfaces require regular maintenance to preserve their beauty and protection. Here are some essential maintenance tips:
- Regular Cleaning: Keep stained surfaces clean by regularly washing them with mild soap and water. Avoid using harsh chemicals that can strip the stain or damage the wood.
- Inspect Annually: Check the stained surfaces annually for signs of wear, such as fading, peeling, or water damage. Pay special attention to areas exposed to direct sunlight and weather.
- Reapply Stain as Needed: Depending on the type of stain and exposure to the elements, you may need to reapply the stain every few years. Before reapplying, clean and lightly sand the surface to ensure proper adhesion.
- Seal the Surface: Consider applying a clear sealant over the stain to enhance protection against moisture and UV rays. This can extend the life of the stain and reduce the frequency of maintenance.
Maintenance of Painted Surfaces
Painted surfaces also require regular upkeep to maintain their appearance and protective qualities. Here are some maintenance tips for painted surfaces:
- Regular Cleaning: Clean painted surfaces with a soft cloth or sponge and a mixture of water and mild detergent. Avoid abrasive cleaners that can damage the paint finish.
- Inspect for Damage: Periodically inspect painted surfaces for cracks, chips, or peeling paint. Promptly address any damage to prevent further deterioration.
- Touch Up Paint: For minor chips or scratches, use touch-up paint to cover the damaged areas. Ensure the surface is clean and dry before applying the touch-up paint.
- Repaint When Necessary: Depending on the quality of the paint and environmental conditions, painted surfaces may need to be repainted every 5-10 years. Proper surface preparation and quality paint can extend the time between repainting.
- Protect High-Traffic Areas: Pay extra attention to high-traffic areas, such as doors and trim, which are more prone to wear and tear. Regular touch-ups and maintenance can help these areas look fresh and new.
By following these maintenance guidelines, you can ensure that your stained and painted surfaces remain attractive and protected for many years, maximizing the longevity of your home’s exterior and interior finishes.
Aesthetic Differences
The choice between staining and painting not only affects the protection and maintenance of your surfaces but also has a significant impact on the overall aesthetic of your home. Here are the aesthetic differences between a natural look achieved with stain and the versatility offered by paint.
Natural Look with Stain
Staining is ideal for those who appreciate the natural beauty of wood. Here are some key aesthetic benefits of using stain:
- Enhances Wood Grain: Stain penetrates the wood fibers, highlighting the natural grain and texture. This creates a rich, organic look that showcases the unique characteristics of each piece of wood.
- Variety of Tones: Stains come in a range of tones, from light and natural to deep and dark. This allows you to choose a color that complements the existing wood and surrounding decor while maintaining a natural appearance.
- Matte Finish: Most stains provide a matte or satin finish, which gives the wood a subtle, elegant look. This finish is less reflective than paint, adding to the natural and understated appeal.
- Aging Gracefully: Over time, stained wood develops a patina that enhances its character and beauty. This aging process can add a timeless and rustic charm to your home.
Versatility with Paint
Painting offers a wide range of aesthetic possibilities, making it a versatile choice for homeowners who want to customize the look of their surfaces. Here are some aesthetic advantages of using paint:
- Unlimited Color Options: Paint is available in an almost limitless array of colors, allowing you to match any design scheme or personal preference. Whether you want a bold, vibrant hue or a soft, neutral tone, paint can deliver.
- Different Finishes: Paint comes in various finishes, including matte, satin, semi-gloss, and high-gloss. Each finish can create a different effect, from the subtle and sophisticated look of matte to the shiny and polished appearance of high-gloss.
- Conceals Imperfections: Paint provides a solid, opaque layer that can conceal imperfections on the surface, such as knots, stains, or uneven textures. This makes it ideal for older surfaces that may have visible flaws.
- Creative Effects: With paint, you can create a variety of decorative effects, such as stripes, stencils, murals, or faux finishes. This versatility allows for endless creative possibilities to personalize your space.
- Theme and Style Flexibility: Paint can easily adapt to changing trends and personal styles. If you want to update the look of your home, repainting is a relatively simple and cost-effective way to achieve a fresh, new appearance.
By understanding the aesthetic differences between stain and paint, you can make a choice that aligns with your design goals and enhances the beauty of your home. Whether you prefer the natural look of stained wood or the versatile options provided by paint, each method offers unique benefits to suit your aesthetic preferences.
Choosing the Right Option for Your Project
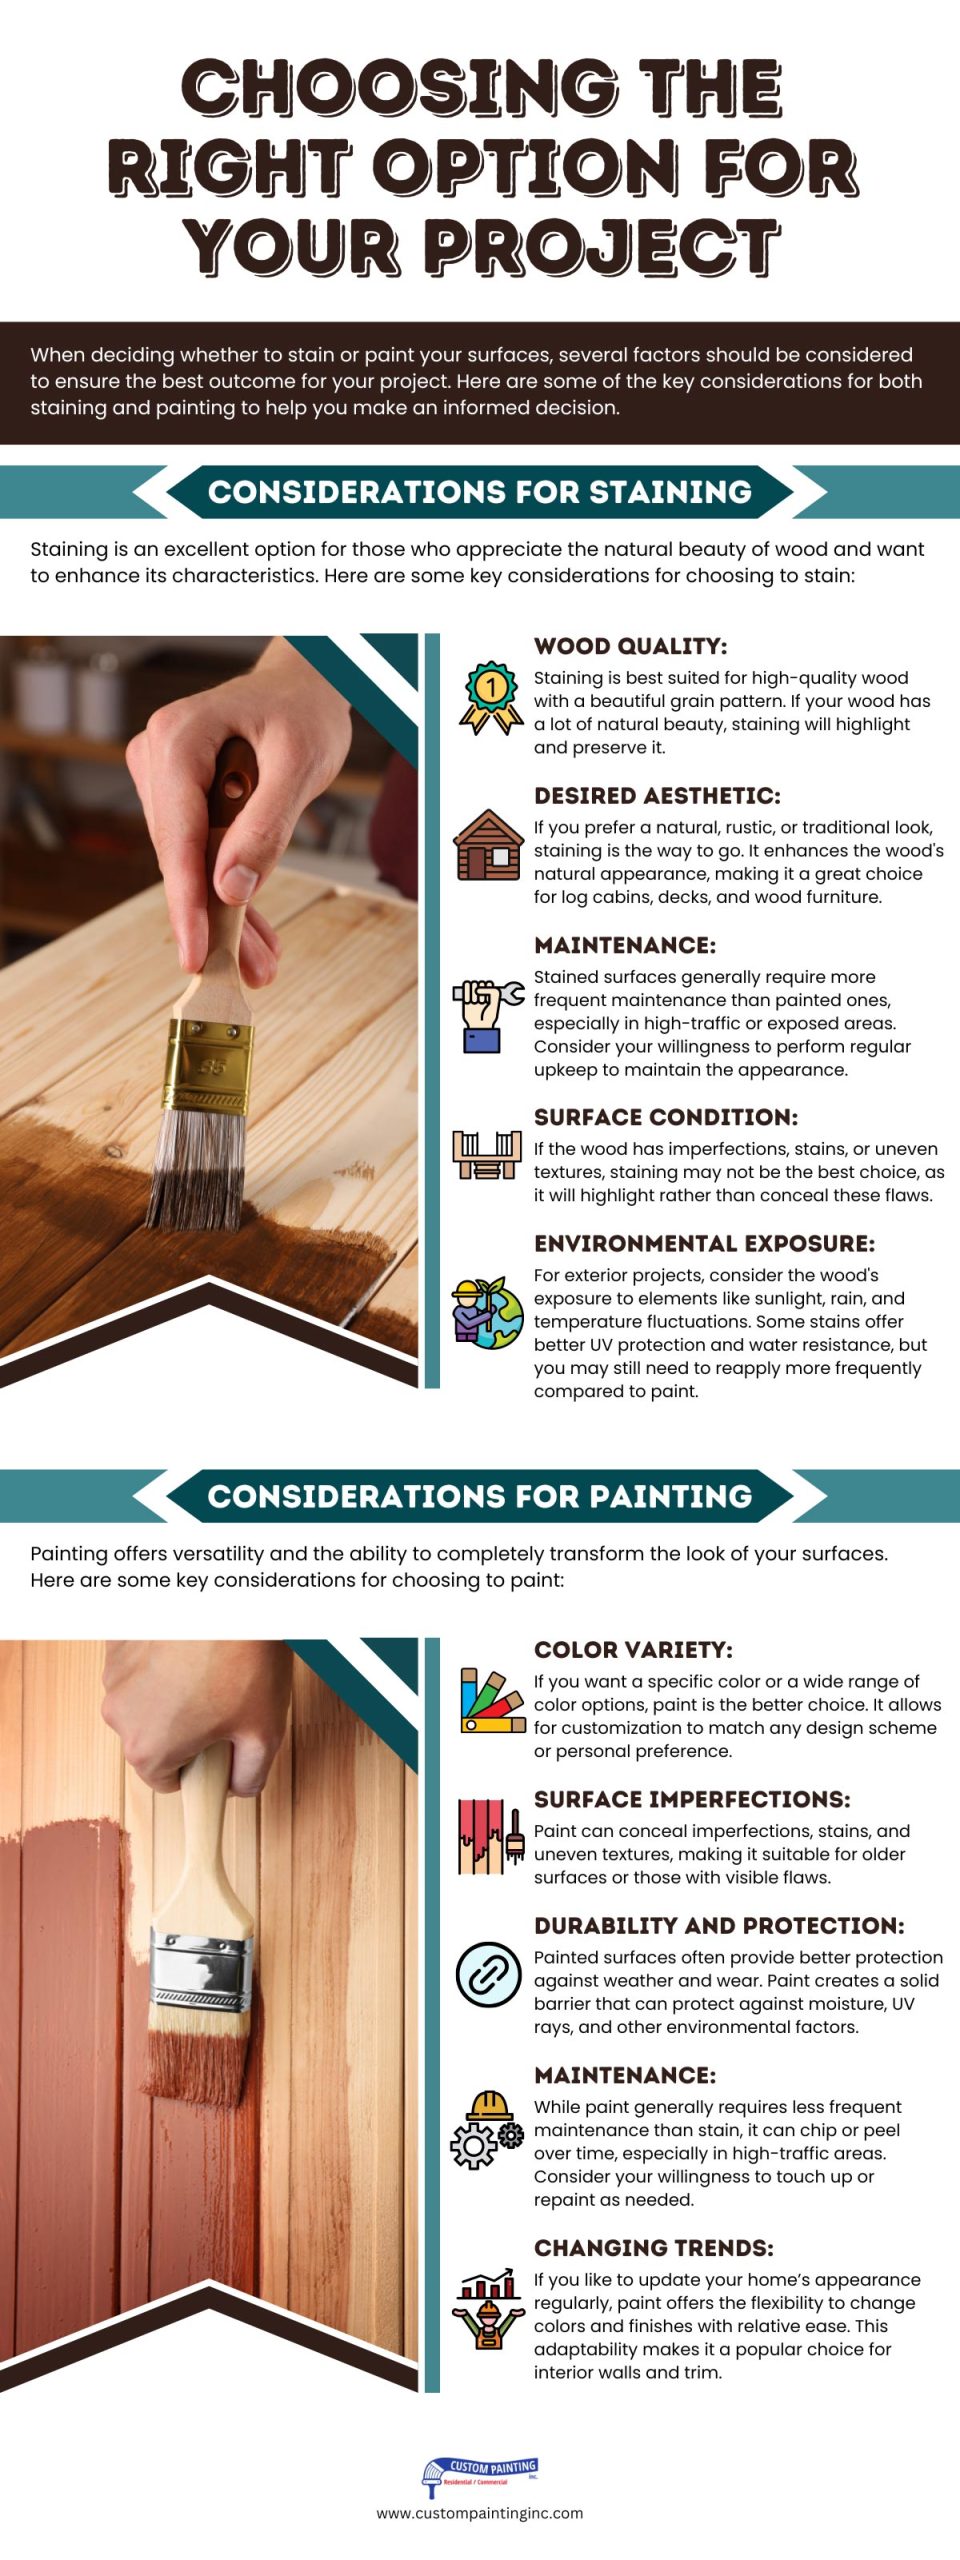
When deciding whether to stain or paint your surfaces, several factors should be considered to ensure the best outcome for your project. Here are some of the key considerations for both staining and painting to help you make an informed decision.
Considerations for Staining
Staining is an excellent option for those who appreciate the natural beauty of wood and want to enhance its characteristics. Here are some key considerations for choosing to stain:
- Wood Quality: Staining is best suited for high-quality wood with a beautiful grain pattern. If your wood has a lot of natural beauty, staining will highlight and preserve it.
- Desired Aesthetic: If you prefer a natural, rustic, or traditional look, staining is the way to go. It enhances the wood’s natural appearance, making it a great choice for log cabins, decks, and wood furniture.
- Maintenance: Stained surfaces generally require more frequent maintenance than painted ones, especially in high-traffic or exposed areas. Consider your willingness to perform regular upkeep to maintain the appearance.
- Surface Condition: If the wood has imperfections, stains, or uneven textures, staining may not be the best choice, as it will highlight rather than conceal these flaws.
- Environmental Exposure: For exterior projects, consider the wood’s exposure to elements like sunlight, rain, and temperature fluctuations. Some stains offer better UV protection and water resistance, but you may still need to reapply more frequently compared to paint.
Considerations for Painting
Painting offers versatility and the ability to completely transform the look of your surfaces. Here are some key considerations for choosing to paint:
- Color Variety: If you want a specific color or a wide range of color options, paint is the better choice. It allows for customization to match any design scheme or personal preference.
- Surface Imperfections: Paint can conceal imperfections, stains, and uneven textures, making it suitable for older surfaces or those with visible flaws.
- Durability and Protection: Painted surfaces often provide better protection against weather and wear. Paint creates a solid barrier that can protect against moisture, UV rays, and other environmental factors.
- Maintenance: While paint generally requires less frequent maintenance than stain, it can chip or peel over time, especially in high-traffic areas. Consider your willingness to touch up or repaint as needed.
- Changing Trends: If you like to update your home’s appearance regularly, paint offers the flexibility to change colors and finishes with relative ease. This adaptability makes it a popular choice for interior walls and trim.
By considering these factors, you can choose the option that best suits your project’s needs and your personal preferences. Whether you opt for the natural beauty of stain or the versatile possibilities of paint, each method has its own advantages that can help you achieve the desired look and longevity for your surfaces.
Final Words
Both staining and painting offer unique benefits and aesthetic options for your home. By understanding the differences and considering your specific needs, you can choose the best option for your project. Serving the Bay area including the cities of Pleasanton, San Ramon, Santa Clara, Sunnyvale and Sunol.
For professional help with your staining or painting project, call Custom Painting, Inc. at 925-294-8062 or fill out our contact form to schedule an appointment.