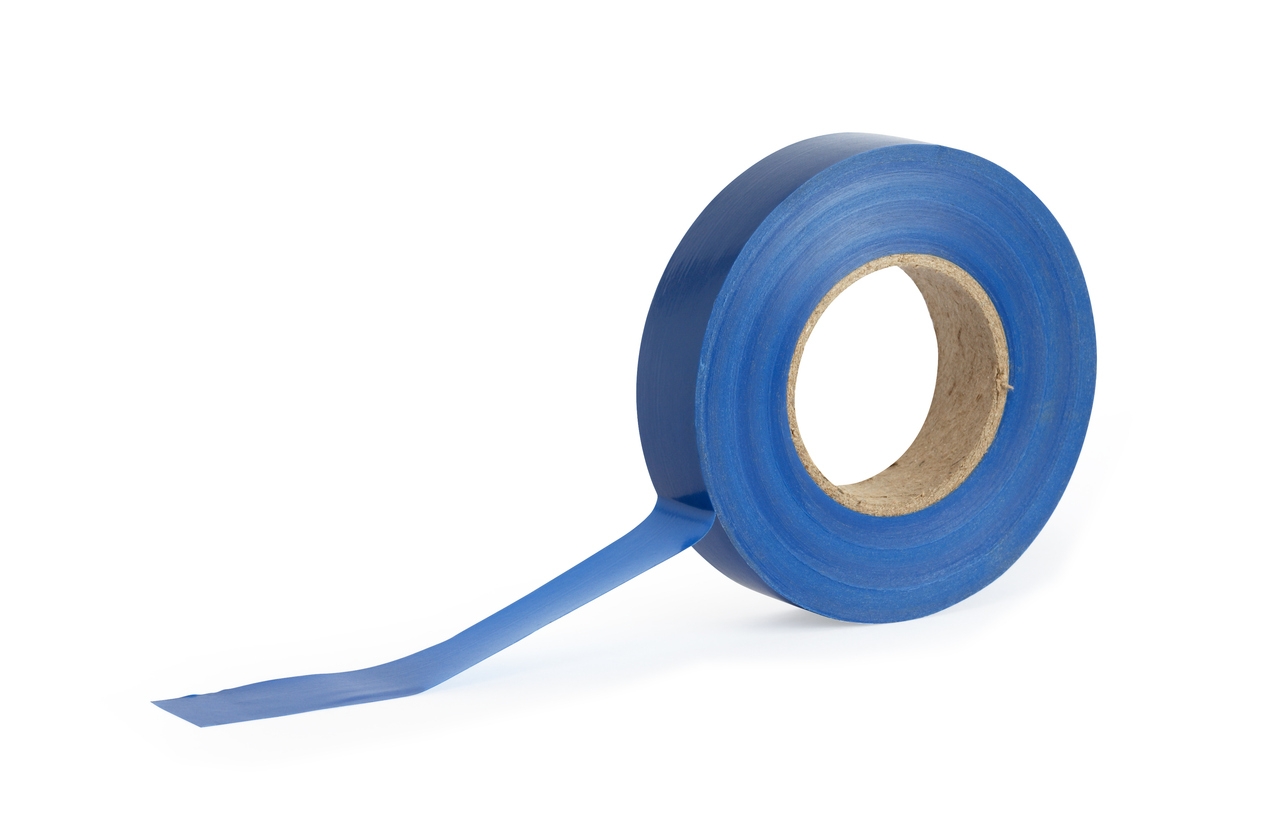
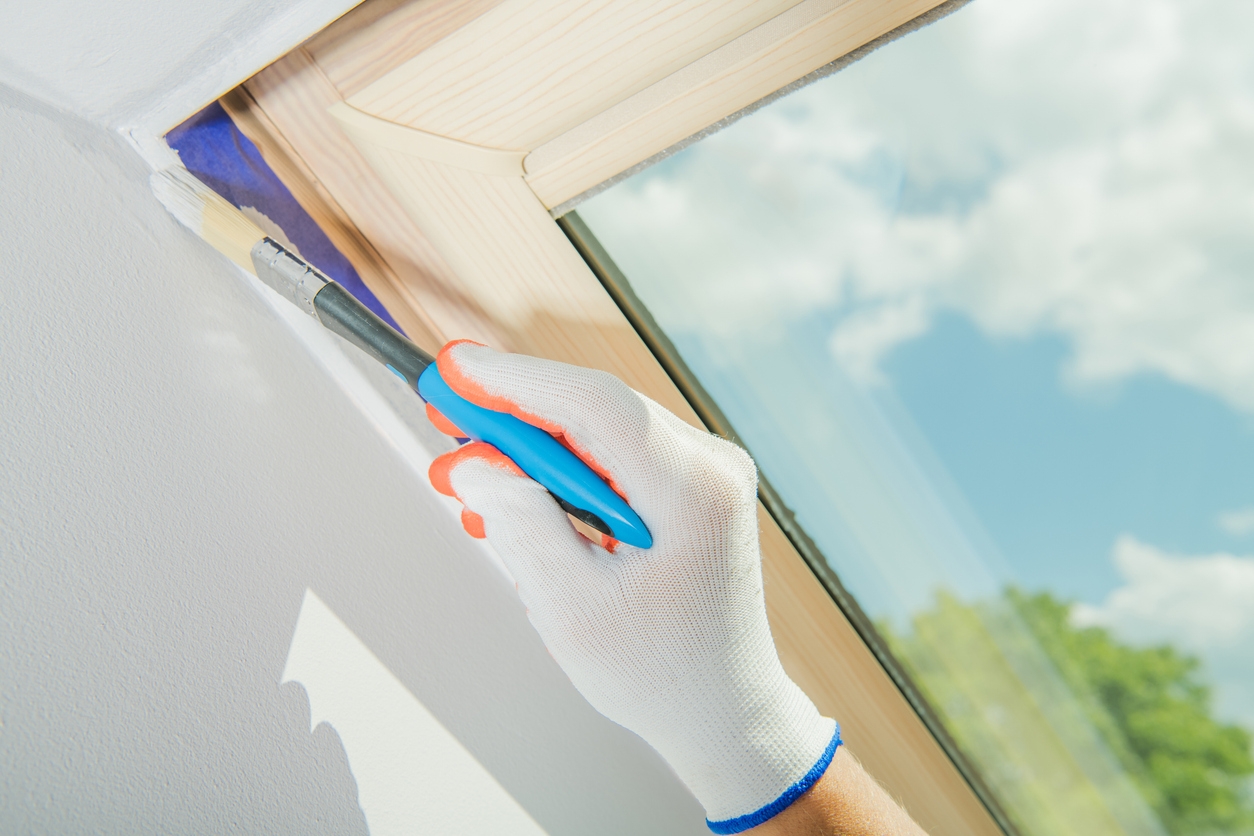
Proper preparation before painting is crucial for achieving professional results. If you want crisp lines and a neat, professional-looking finish in your painting project, painter’s tape will be your best friend. Our skilled craftsmen deliver flawless finishes that accentuate architectural details with custom crown molding and trim installation and painting.
One crucial step is masking the room effectively. This saves time, prevents mistakes, and protects surfaces from unwanted paint splatter. Though it might seem tedious, masking is essential for ensuring a clean, crisp finish.
Why masking is crucial for a successful paint job
Masking is essential for a successful paint job for several reasons:
- Preventing accidental paint splatters: Masking protects surfaces like floors, furniture, and trim from unwanted paint, minimizing the risk of costly and time-consuming damage.
- Creating sharp, professional lines: It ensures clean edges around areas like trim, baseboards, windows, and ceilings, resulting in a polished, professional finish.
- Saving time on cleanup: Proper masking reduces the likelihood of messy mistakes, making the process more efficient by reducing the need for touch-ups and extensive cleanup after painting.
Tools and materials you’ll need

Preparing for a painting project is crucial to achieving a professional finish and protecting your surroundings. Here’s a breakdown of the materials needed for preparation:
1. Painter’s tape
- Types:
- General purpose: Ideal for most indoor painting tasks. It adheres well but is easy to remove.
- Delicate surface: Designed for use on freshly painted or delicate surfaces. It prevents peeling or damage when removed.
- High-performance: Suitable for outdoor use or high-humidity areas. It holds up well against paint bleed.
- Sizes: Painter’s tapes are typically available in widths from ½ inch to 2 inches. Choose narrower tape for intricate designs and wider tape for larger areas.
2. Plastic sheeting or drop cloths
- Plastic sheeting: This is useful for covering large areas, particularly floors and furniture. It’s waterproof and prevents paint spills from soaking through.
- Drop cloths: Available in canvas or cloth materials. Canvas is more absorbent and reusable, while cloth drop cloths are lighter and easier to handle.
- Size: Choose larger sheets (typically 9×12 feet or more) for significant areas or several smaller cloths for different room sections.
3. Masking paper or cardboard
- Masking paper: This is typically used to cover flat surfaces like countertops and windowsills. It can be easily cut to size and taped down.
- Cardboard: A sturdy option for protecting shelving and furniture. It can be recycled after use, making it an eco-friendly choice.
- Thickness: Choose heavier-weight paper for better paint resistance.
4. Step ladder or extension poles
- Step ladder: A ladder is essential for reaching higher areas safely. Look for a ladder that’s stable and height-appropriate for your needs.
- Extension poles: Attach to rollers or brushes for reaching ceilings and high walls without needing a ladder. Adjustable poles are versatile for different heights.
5. Utility knife or scissors
- Utility knife: Great for cutting tape, plastic, and paper cleanly and precisely. Look for one with a retractable blade for safety.
- Scissors: A good pair of sturdy scissors can also be useful, particularly for cutting lighter materials like masking paper.
Additional tips
- Test the tape: Before applying painter’s tape, test a small section on your surface to ensure it adheres well and can be removed without damage.
- Secure edges: When using plastic sheeting, weigh down edges with heavy objects or tape to prevent them from moving during painting.
- Plan coverage: Plan your coverage area and layout before starting to minimize disruption and ensure thorough protection.
Step-by-step guide to masking a room
Step 1: Clear and clean the room
- Remove furniture: Remove as much furniture as possible. If you can’t move it, push it to the center of the room and cover it.
- Clean surfaces: Wipe down walls and surfaces with a damp cloth to remove dust and grime. This ensures the painter’s tape adheres correctly.
Step 2: Apply painter’s tape to trim and edges
- Choose the correct tape: Use high-quality painter’s tape for clean lines.
- Technique:
- Start at one corner of the room.
- Press the tape down along the edges of baseboards, crown molding, door frames, and window edges.
- Keep the tape straight and aligned, ensuring it’s pressed down firmly to avoid paint seeping underneath.
- Overlap: If necessary, slightly overlap pieces of tape to cover gaps.
Step 3: Cover floors and furniture
- Use drop cloths or plastic sheeting: Lay down drop cloths to cover floors and any remaining furniture.
- Secure the covering: Use tape to secure the edges of the drop cloths to prevent them from shifting. It will protect your surfaces from paint splatters.
Step 4: Mask electrical outlets, light switches, and fixtures
- Taping outlets and switches: Use small pieces of tape to cover electrical outlets and light switches. Ensure the tape is pressed down well.
- Covering fixtures: If possible, remove light fixtures and ceiling fans. If not, cover them with plastic sheeting, securing them with tape.
Step 5: Protect doors, windows, and vents
- Mask windows: Apply painter’s tape around window frames and cover the glass with plastic sheeting or newspaper.
- Protect doors: Tape around door frames and consider covering doors with plastic sheeting.
- Mask vents: Use tape to cover air vents to prevent dust and paint from entering the HVAC system.
Final check
- Walk through the room to ensure all areas are properly masked. Make adjustments as needed to guarantee complete protection.
This thorough masking process will help you achieve clean lines and protect your surfaces while painting!
Tips for efficient and effective masking
Here are some tips for effective masking:
- Start from the top: Always mask ceilings, crown molding, and upper trim first, then work your way down to ensure better coverage and easier cleanup.
- Smooth with a putty knife: After applying the tape, use a putty knife to press down on it. This helps achieve sharper lines and improves adhesion.
- Avoid overstretching: Stretching painter’s tape too much can cause it to pull away during painting, leading to uneven lines and paint bleed.
- Double-check hard-to-reach areas: Pay special attention to corners, edges, and small crevices to ensure they are fully covered and protected from paint.
Common masking mistakes to avoid
Here’s a brief overview of common masking mistakes to avoid:
- Using the wrong type of tape: Always choose high-quality painter’s tape suited for the surface you’re masking. Delicate surfaces require gentler tapes, while rough surfaces need stronger adhesion.
- Skipping surface cleaning: Dust and debris can hinder tape adhesion, causing paint seepage. Always clean the surface before applying tape.
- Applying tape unevenly: Ensure tape is applied straight and consistently for clean, sharp edges. Uneven tape can lead to messy lines.
- Waiting too long to remove tape: Remove tape promptly after painting to prevent dried paint from peeling off, which can ruin your edges.
How a professional residential painting company can help
A professional residential painting company can significantly enhance the quality and efficiency of your painting project in several ways:
- Expert precision and attention to detail: Professionals are trained to execute precise masking techniques, ensuring clean lines and preventing paint from smudging on delicate surfaces. Their experience allows them to handle challenging areas like corners and trim efficiently, resulting in a polished look.
- Efficient and timely preparation: Professional painters have streamlined processes for preparation, including masking. They can complete this crucial step quickly and effectively, minimizing downtime and ensuring the project stays on schedule without sacrificing quality.
- Access to high-quality materials: Residential painting companies typically use premium paints and materials to achieve a flawless finish. High-quality products not only improve the aesthetic but also reduce the need for extensive cleanup, providing a smoother and more efficient painting experience.
Parting words
Thorough masking is essential for achieving a professional-quality paint job, ensuring clean lines, and preventing mess. Homeowners should take the time to properly mask their spaces or consider hiring professionals for the best results.
If you’re thinking about a residential painting project, contact our team from Custom Painting, Inc. at 925-294-8062 or use our contact page. Serving the Bay area including the cities of Bay Point, Diablo, Milpitas, Mountain House and Newark. We offer a free consultation to help you get started. Remember, preparation is the key to success!


