

The secret to a good exterior painting is that most of the hard work is done before a brush touches the surface. While prepping can be considered a dreadful task, it’s necessary to make the surface ready for the topcoat. A surface that’s dirty or damaged can lead to paint adhesion problems.
With that said, proper preparation is important for achieving the best results. When surfaces are correctly prepped, the paint adheres better, which means it lasts longer and looks more vibrant. This not only enhances the appearance of your home but also protects it from the elements, saving you money on future repairs and repaints. Protect and revitalize your home’s exterior with professional vinyl and aluminum siding painting that stands up to the elements.
Now, here’s how you can prep your exteriors for a beautiful paint job:
1. Initial Inspection
Before you start painting, take a thorough look at your home’s exterior. Look for any signs of damage or wear, such as cracks, holes, or rotting wood. These issues need to be addressed before painting to ensure a smooth, durable finish. Mark these areas for repair, and if you find significant damage, consider consulting a professional to fix it before you proceed. This step sets a strong foundation for the rest of your painting project.
2. Clear and Clean
Tools Needed: Pressure washer, bleach solution, scrub brushes.
Before you start cleaning the exterior, clear the space around the perimeter of your home. Move any furniture, decorations, or plants away from the walls. This gives you unobstructed access to the surfaces and prevents any damage to your belongings.
Next, use a pressure washer to remove dirt, mold, mildew, and loose paint from the exterior surfaces. For mold and mildew, apply a bleach solution (one part bleach to three parts water) and scrub with a brush to ensure it is thoroughly cleaned. After scrubbing, rinse the area thoroughly with water to wash away any remaining bleach and debris. Allow the surfaces to dry completely before moving on to the next step. A clean, dry surface is essential for the new paint to adhere properly and last longer.
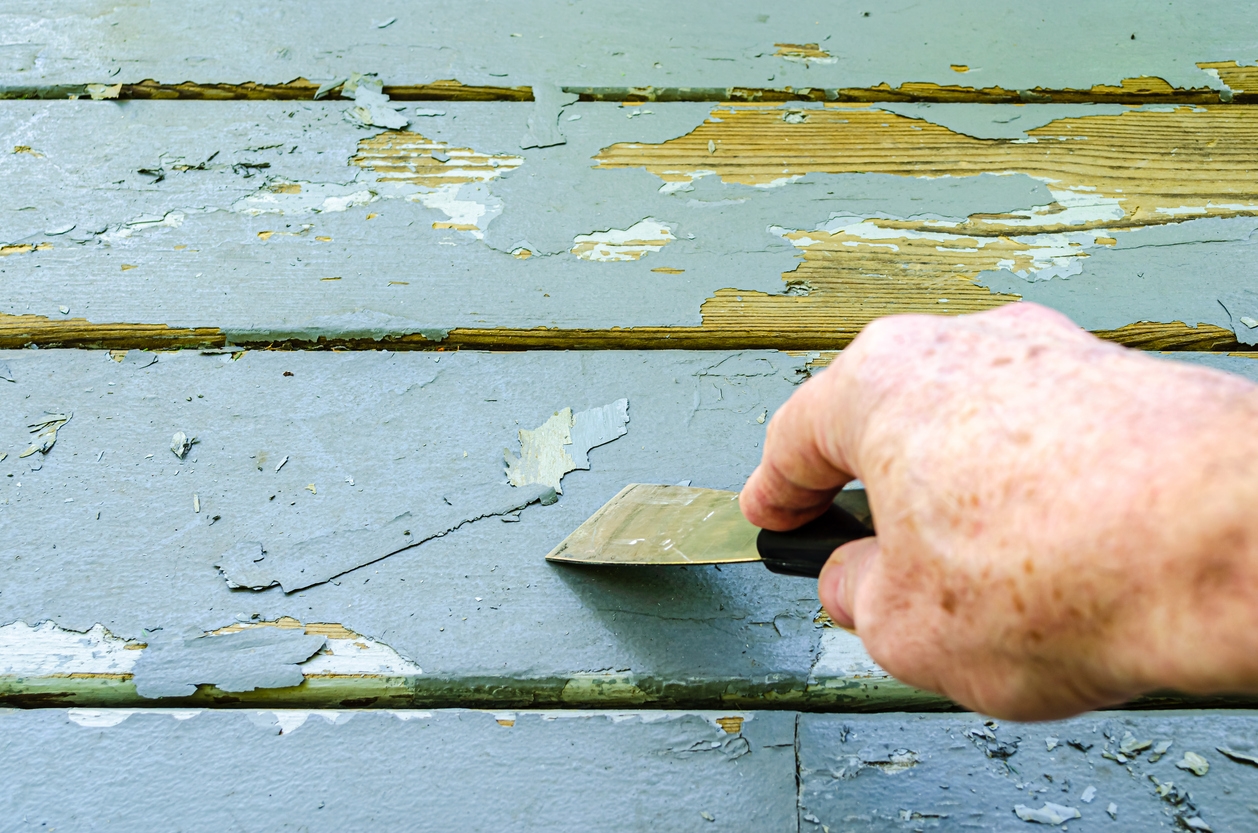
3. Sand
Tools Needed: Sandpaper, electric sander, protective gear.
Now that your surface is clean and dry, it’s time to sand it. Sanding smooths out rough spots and removes any remaining loose paint, essential for a flawless finish. Use sandpaper or an electric sander to gently go over the entire surface, paying extra attention to edges and areas where the paint is peeling. Remember to wear protective gear, like a mask and goggles, to keep dust out of your eyes and lungs.
Once you’ve finished sanding, it’s crucial to clean up all the dust and debris. You can use a broom, brush, or vacuum to ensure the surface is completely free of particles that could interfere with the paint adhering properly. This step helps create a smooth, even base for your primer and paint, ensuring a beautiful and durable finish for your home.
4. Repair Flaws
Tools Needed: Wood filler, putty knife, caulk, caulking gun.
After sanding, you’ll likely notice cracks, holes, or other imperfections in your exterior surfaces. Fixing these flaws before painting is essential. Start by filling any cracks, holes, or gaps with wood filler or caulk. Use a putty knife to spread the filler smoothly and ensure it’s level with the surface.
Once the filler or caulk has dried, sand it lightly to create a smooth, even finish. This step ensures that the repaired areas blend seamlessly with the rest of the surface. Also, check for any damaged siding or trim and make necessary repairs.
Cracks around doors or windows can be mended with an epoxy wood filler. For larger holes, you should patch them with a piece of wood cut to size. Glue and insert the wooden piece into the hole, then apply a wood preservative to both patch and frame. Once the glue is completely dry, sand the surface and fill in any holes or gaps with a wood filler.
5. Apply Primer
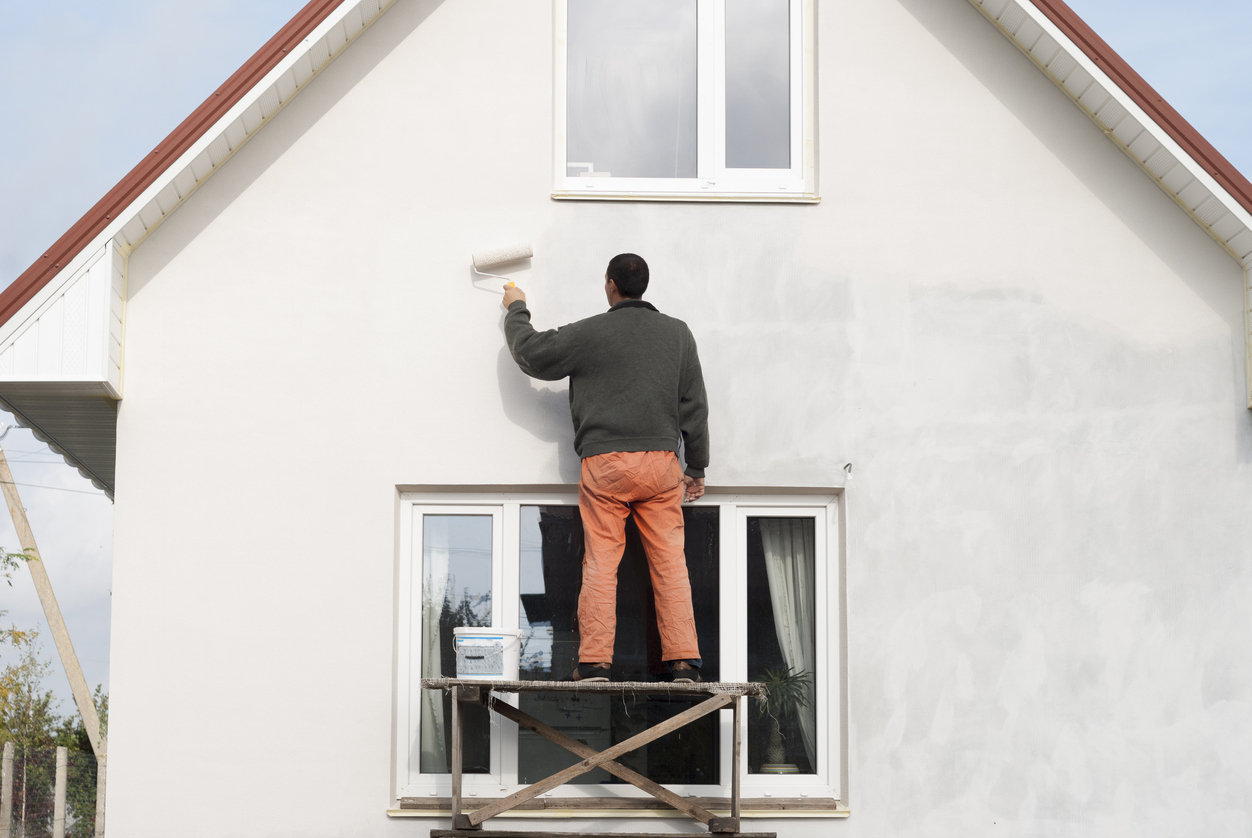
Tools Needed: Quality exterior primer, paintbrushes, and rollers.
Priming is a crucial step in exterior painting because it ensures better paint adhesion and durability. Start by choosing a high-quality exterior primer. Using a paint brush or roller, apply the primer evenly over the entire surface, making sure to cover all repaired and bare wood areas thoroughly.
The primer acts as a base coat that helps the paint stick better and last longer. After applying the primer, allow it to dry completely according to the manufacturer’s instructions. This drying time is essential for achieving the best results when you move on to painting.
But take note that priming is not a necessary step – if the current paint is clean and well-adhered, you can generally skip it. Priming is only usually done if you’re painting a new wall, or if you want to change colors from dark to light. If you want to drastically change the color or the shade of the finishing paint, you can go with a primer with tint, but not in the same color as the current paint as you also want to cover some surface flaws.
6. Consider the Weather
Planning the job on a good day is also part of prepping. Always check the weather forecast before you start painting and plan accordingly. It’s best to paint when the weather is dry, and the temperatures are moderate, usually between 50°F and 85°F. Avoid painting in direct sunlight, extreme heat, or cold, as these conditions can affect the paint’s drying and adhesion.
Be prepared for unexpected weather changes. If rain is forecasted, delay painting to avoid ruining your hard work. If it’s windy, be aware that dust and debris can stick to wet paint.
7. Choosing the Right Paint
When selecting paint for your exterior, it’s important to choose a high-quality option suitable for your climate. This ensures the paint can withstand weather conditions and maintain its appearance over time.
Decide on the right finish for your project. Flat finishes hide imperfections but are less washable, while satin and semi-gloss finishes are easier to clean and more durable, making them great for high-traffic areas and trim.
Consider using eco-friendly paints that have low VOC (volatile organic compounds) levels. These paints are better for the environment and your health.
Conclusion
Proper preparation is crucial for a successful exterior painting project. Taking your time with each step—from cleaning and sanding to priming and painting—ensures the best results.
If you are hiring a professional painter, you can do the prep work by yourself and let the pros do the rest. That way, you can save a lot of money and time and still end up with a great finish. Consider hiring Custom Painting, Inc. to ensure a high-quality, professional finish for your home.
Call us at 925-294-8062 or fill out our contact form to get a free estimate. Serving the Bay area including the cities of Antioch, Blackhawk, Danville, Fremont and Livermore.